

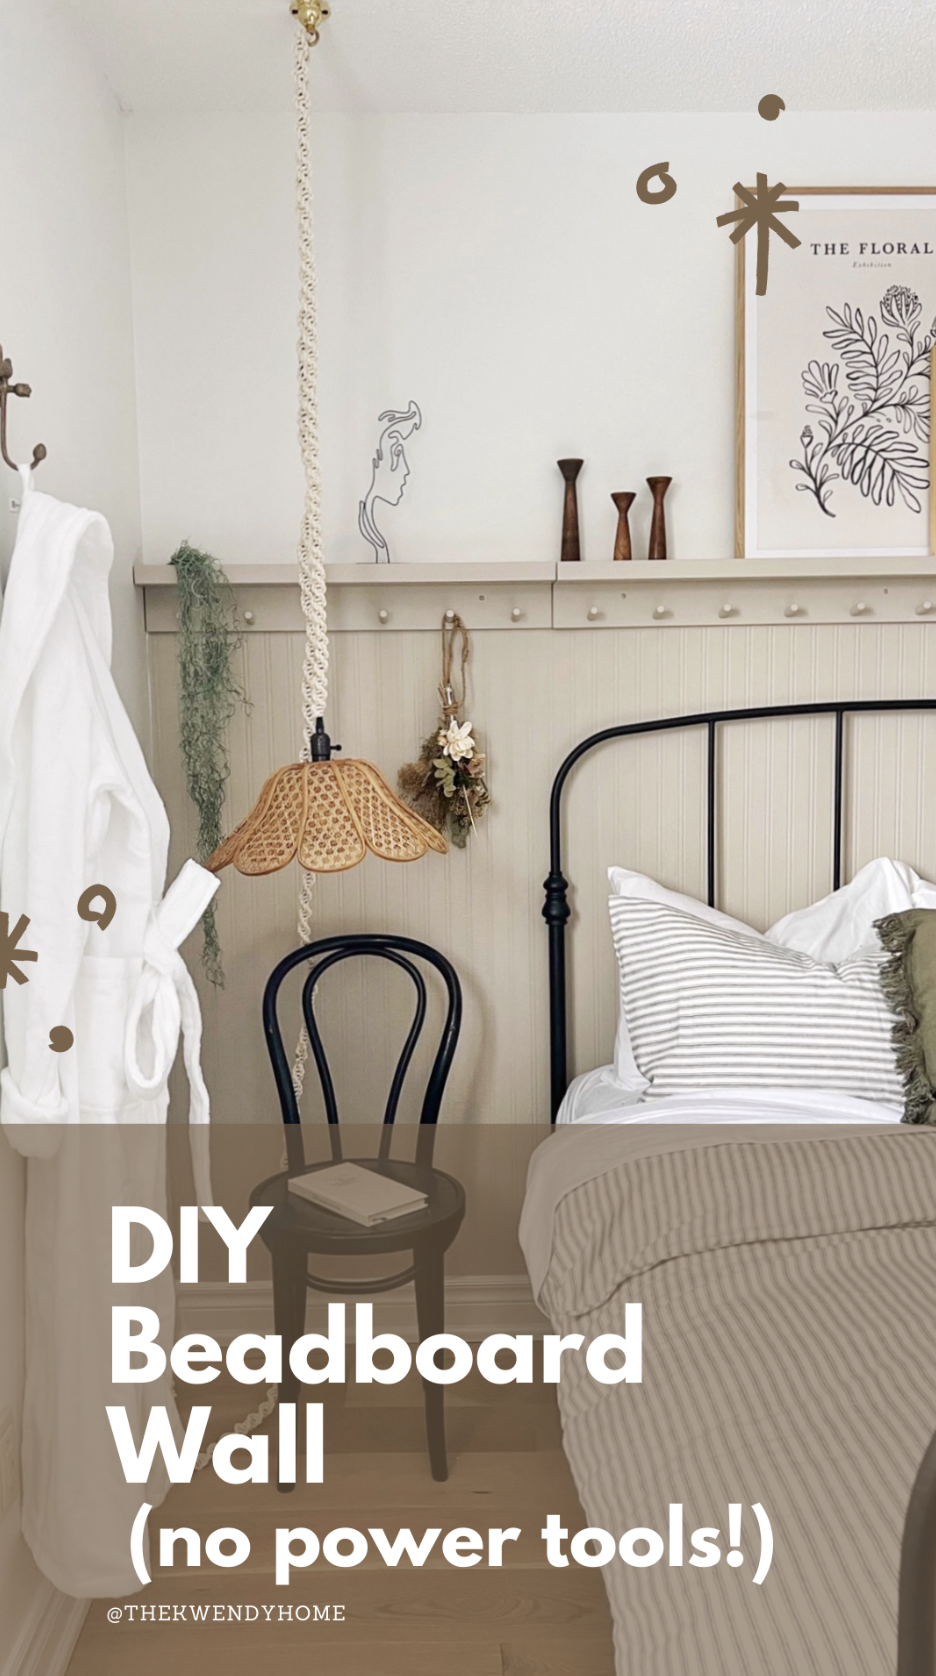
How to Fake a BeadBoard Feature Wall
OK! In the midst of Christmas preparations I am still plotting and planning the rest of the house. We're going to be doing this room on a budget because renovating this 80's home during the pandemic has NOT been cost effective.
But before we start- a little transparency on my end. I'll be linking everything you see here or something similar because there are some vintage pieces mixed in with the new. Some of these are affiliate links which means I earn a small commission for curating it at no extra cost to you.
Without anymore typical blog ramblings, here is the guest room mood board! I wanted it to feel like the rest of the house which is leaning towards a more traditional feel. I really wanted to add some charm to this builder grade home and one of the ways to do that is to install some wall treatments!

See something you like? You can shop this post — Just click!
A bead board feature wall sounds great in theory but with the price of wood skyrocketing I knew I had to find another way.
Plus, let's face it, I'm all about the DIY but wood working and measuring is NOT my forte. And that's when I discovered a hack! (I'm sure I'm not the first person to think of this nor the last but to me it was a revolutionary discovery.)
Enter this amazing product I found from Home Depot that replicated the look of beadboard. It was less than $40 CAD or if you're American - Less than $20 for 56 square feet of coverage! AND you can paint on it!
(Side note- I know, Canadian's pay double the price but c'est la vie". 🤷♀️ )
Skip this part if you get the pre-pasted wallpaper.
If you're lucky, the pre-pasted wallpaper I linked will be in stock but if it isn't, not to fear. You can buy the unpasted stuff and use this wallpaper adhesive I used. I LOVE this product because it's made out of wheat base and comes off so easily if I need to reposition it or even when it dries! So if you're like me and change things up often, this is the perfect product for you!
The only trick to this project is mixing the wallpaper paste because you need to get that lump free goopy consistency. All you gotta do is use a roller (not a brush because you want a smooth application of this wheat paste) and roll it onto your wallpaper panel you've cut to size. Then roll on the wheat paste to the wall you're applying it to. This will guarantee good adhesion.
After you've applied your bead board wallpaper, you will need an xacto knife to cut off any excess from the bottom (where your wallpaper meets the trim) and top if you're going all the way up.
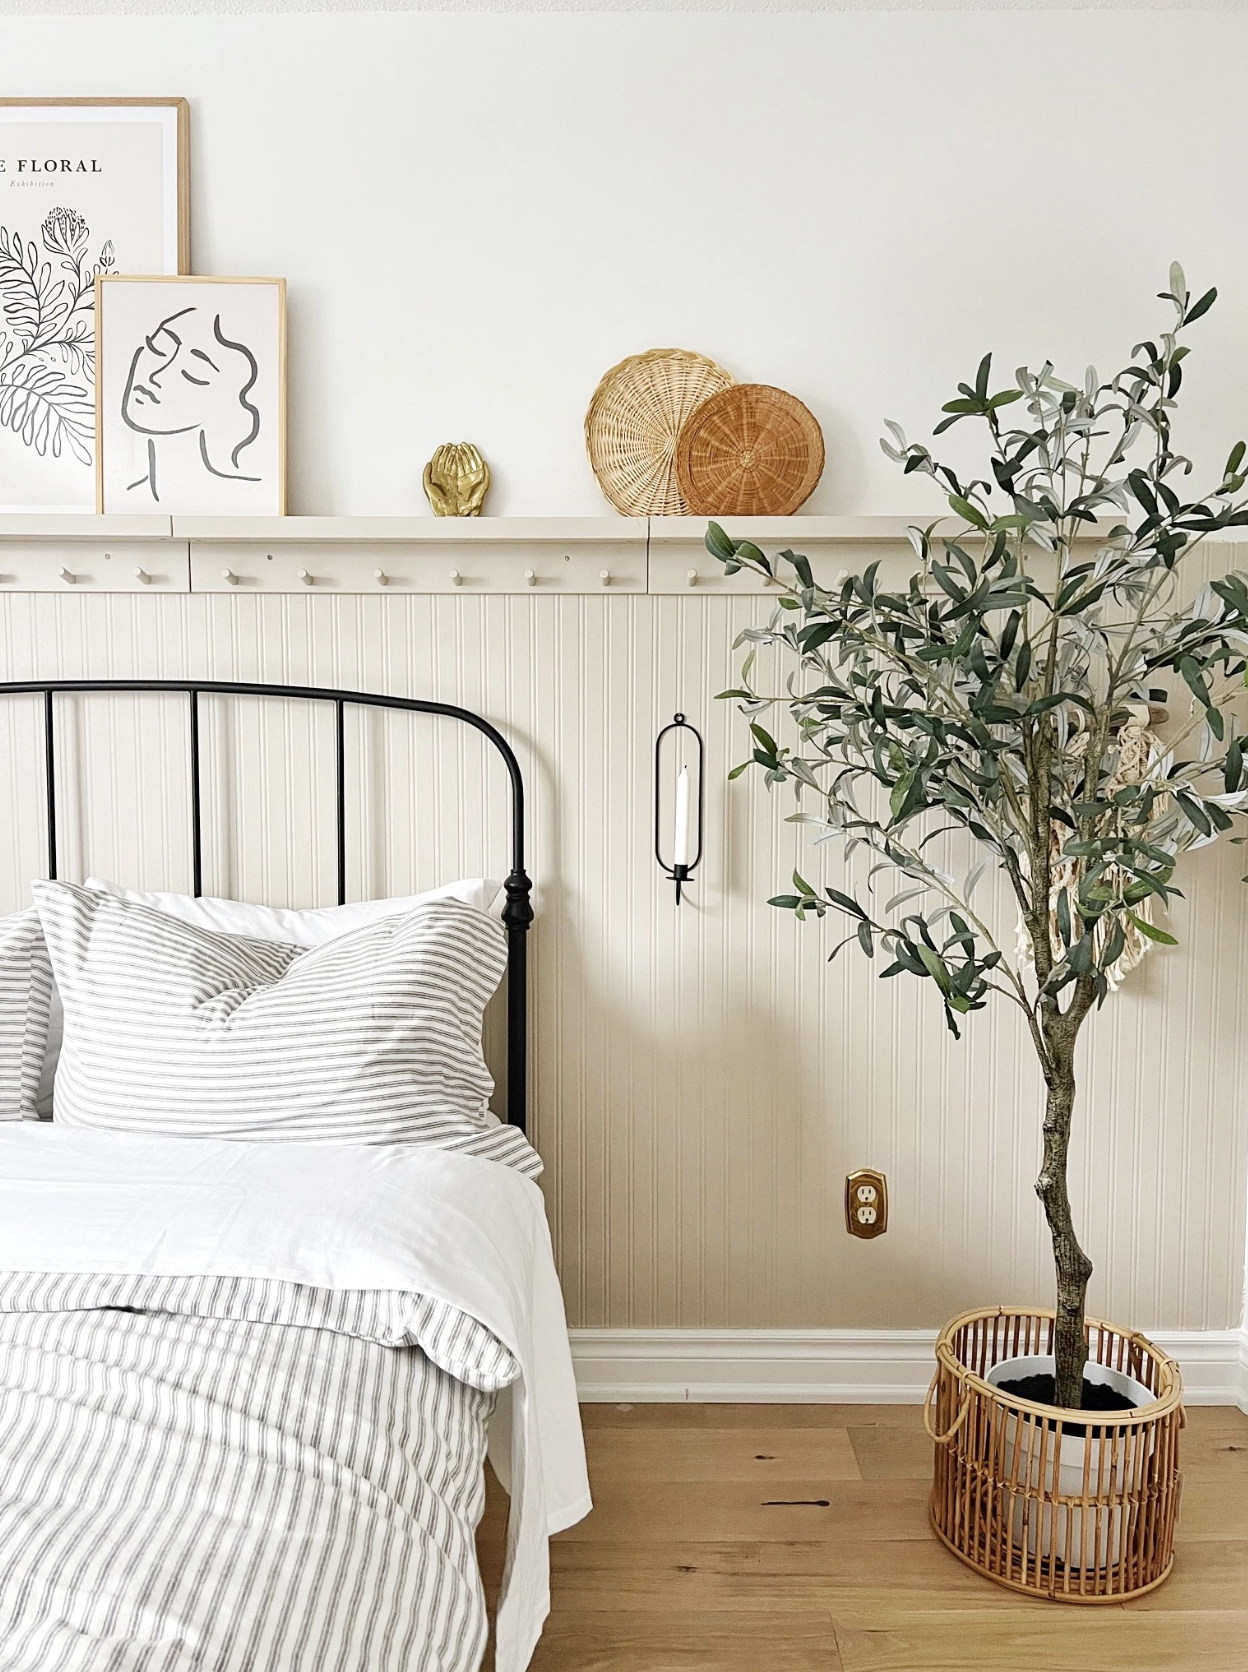
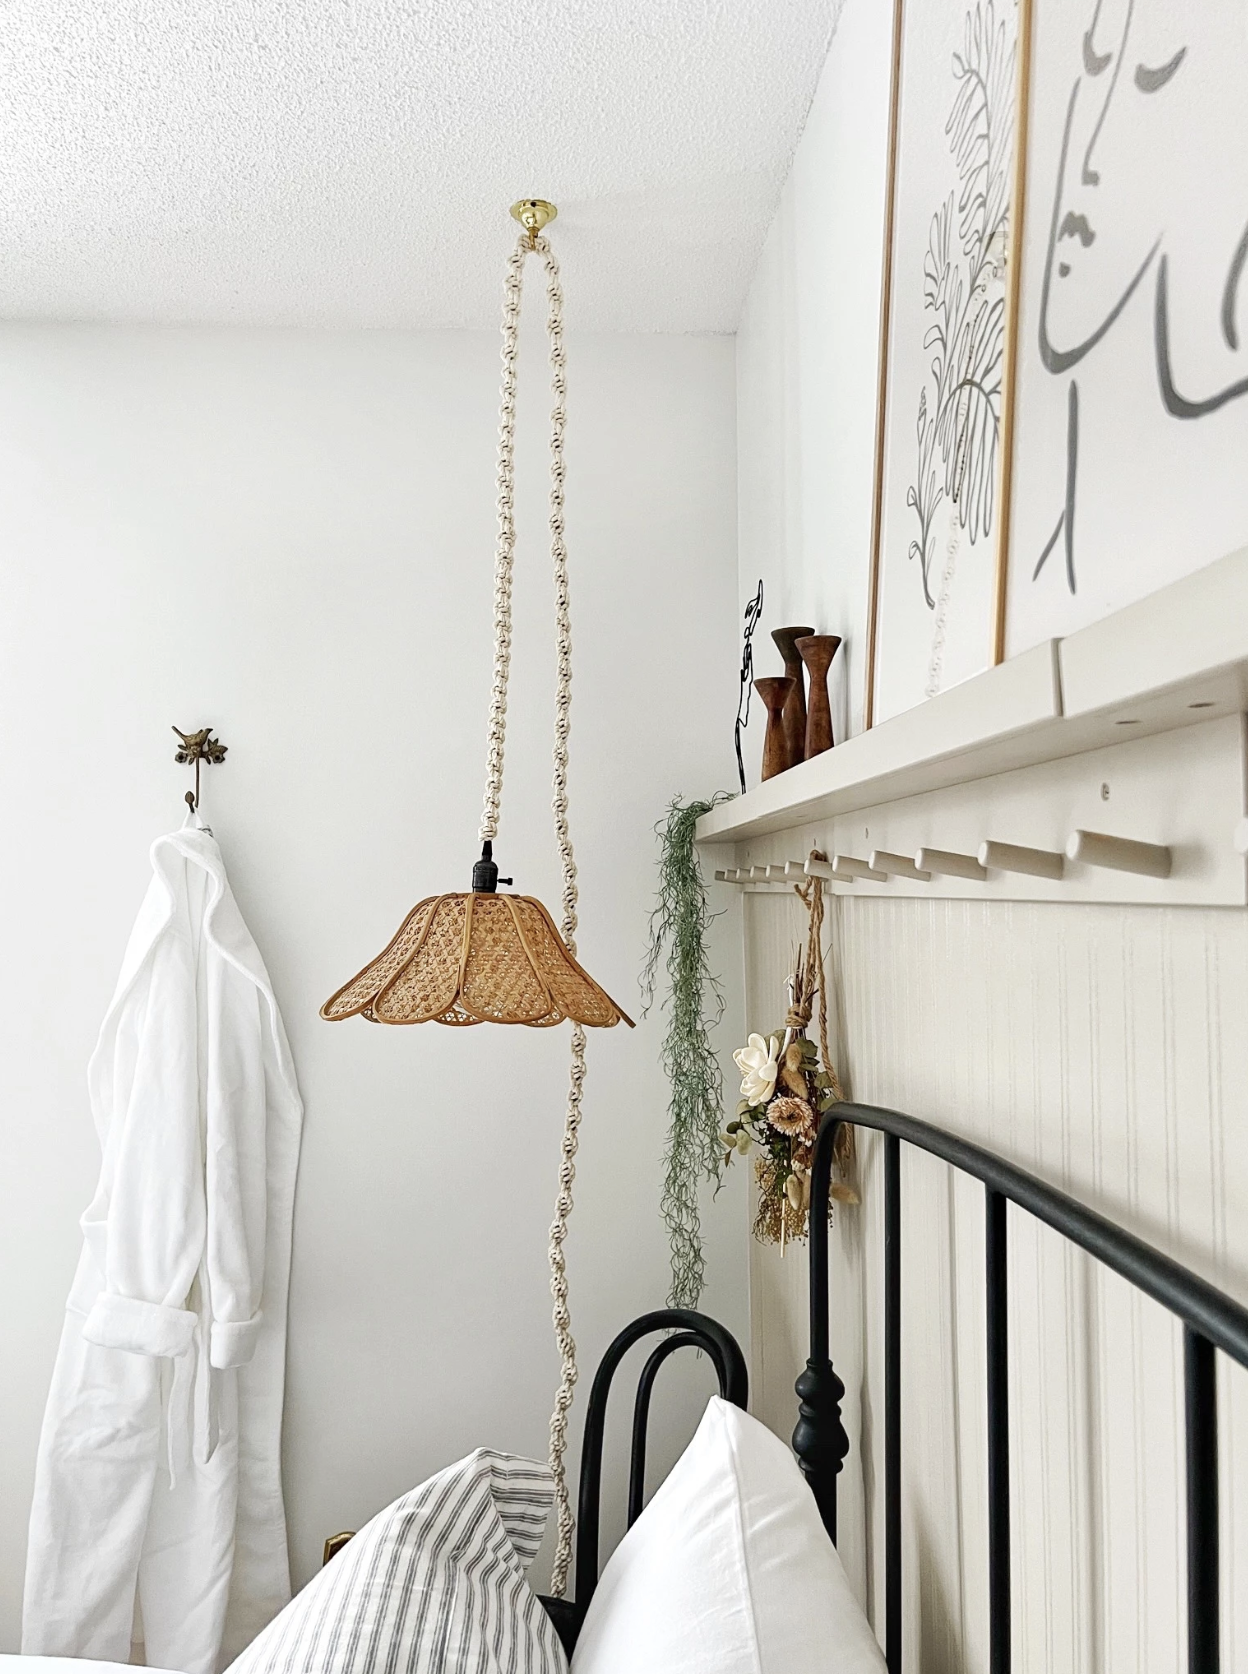
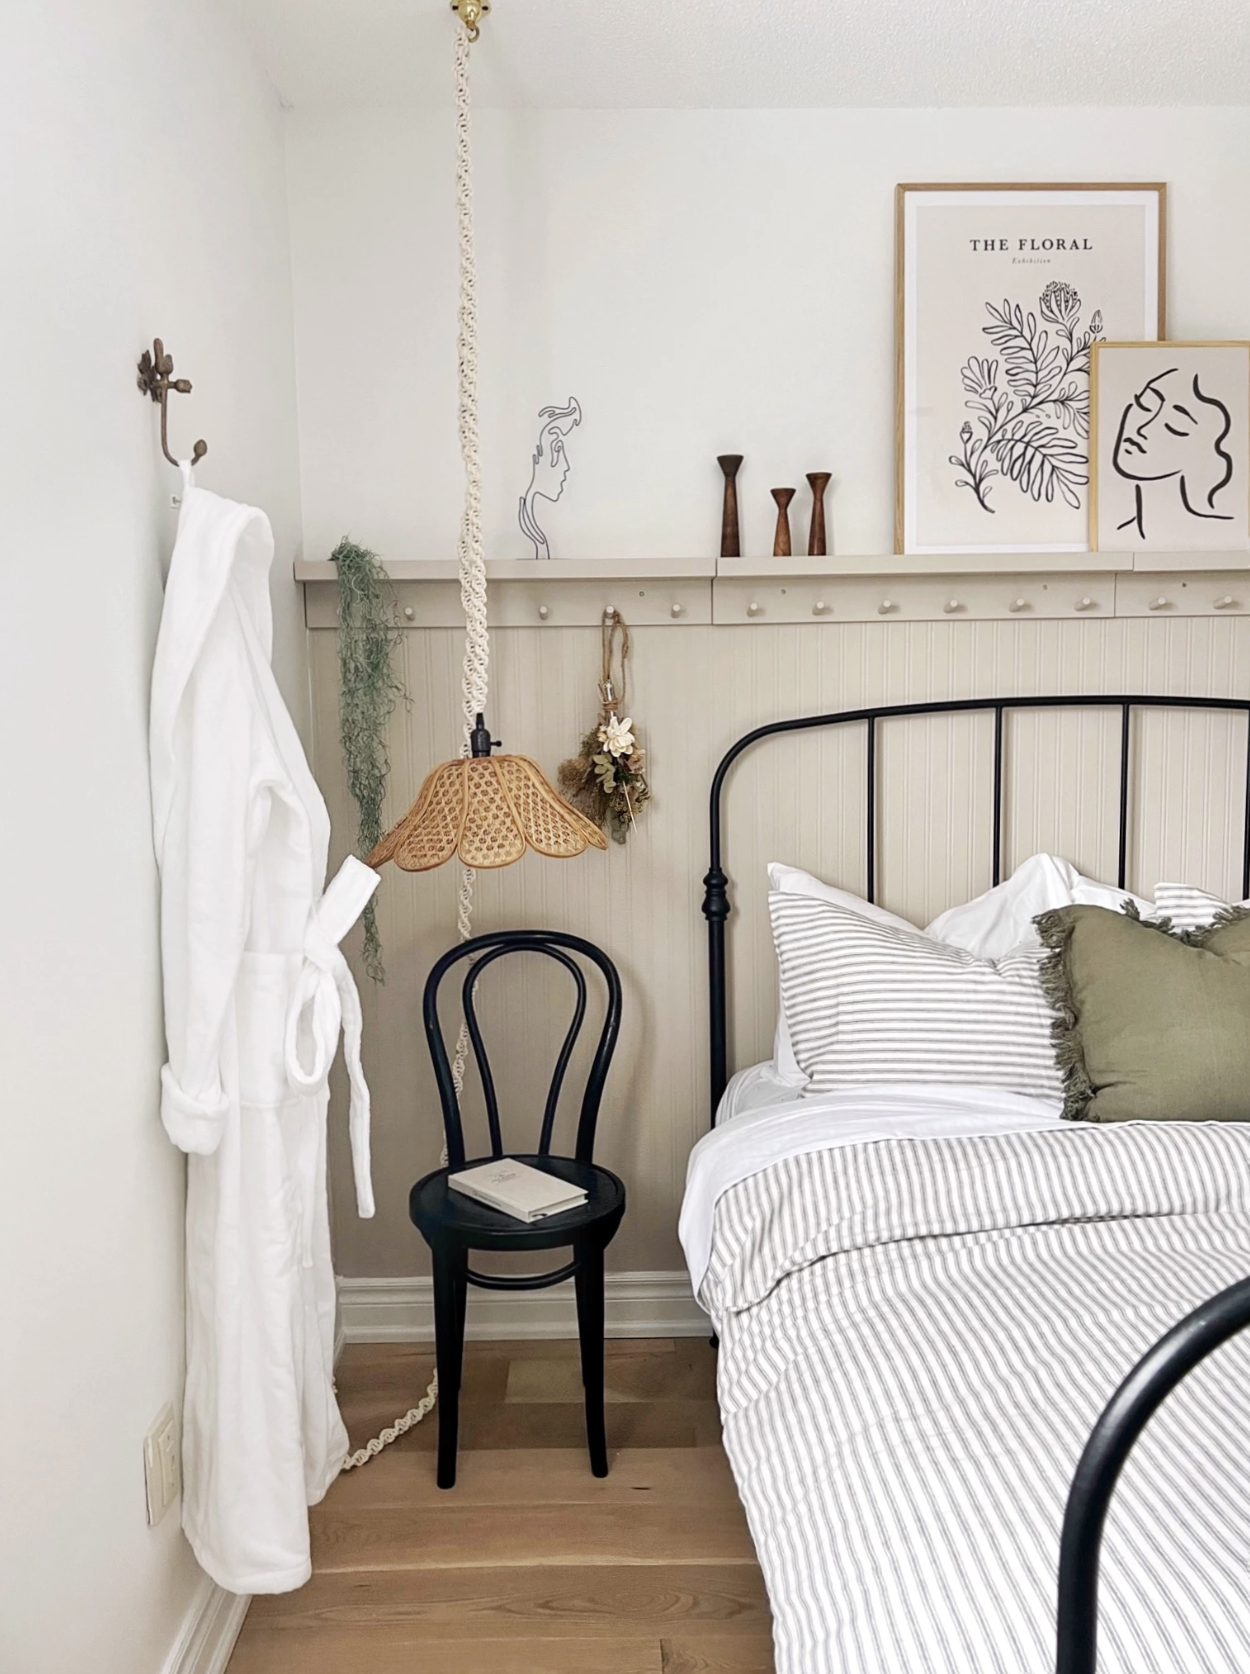
To finish off the look of the bead board, you can choose to use a simple trim piece but I wanted a peg hook rack across. Instead of making my own which would have been time consuming and require tools I don't have. I bought five peg hook shelves that I put up across the bead board.

I'll link a few peg hook shelves here as mine are no longer sold.
And to complete the look of the bead board, simply just paint over it! I used Creamy Mushroom by Behr and I LOVE the look. Heavily influenced by my friend Cynthia Harper in her laundry room makeover that I love.
Then on to the fun part! Decorating the room!

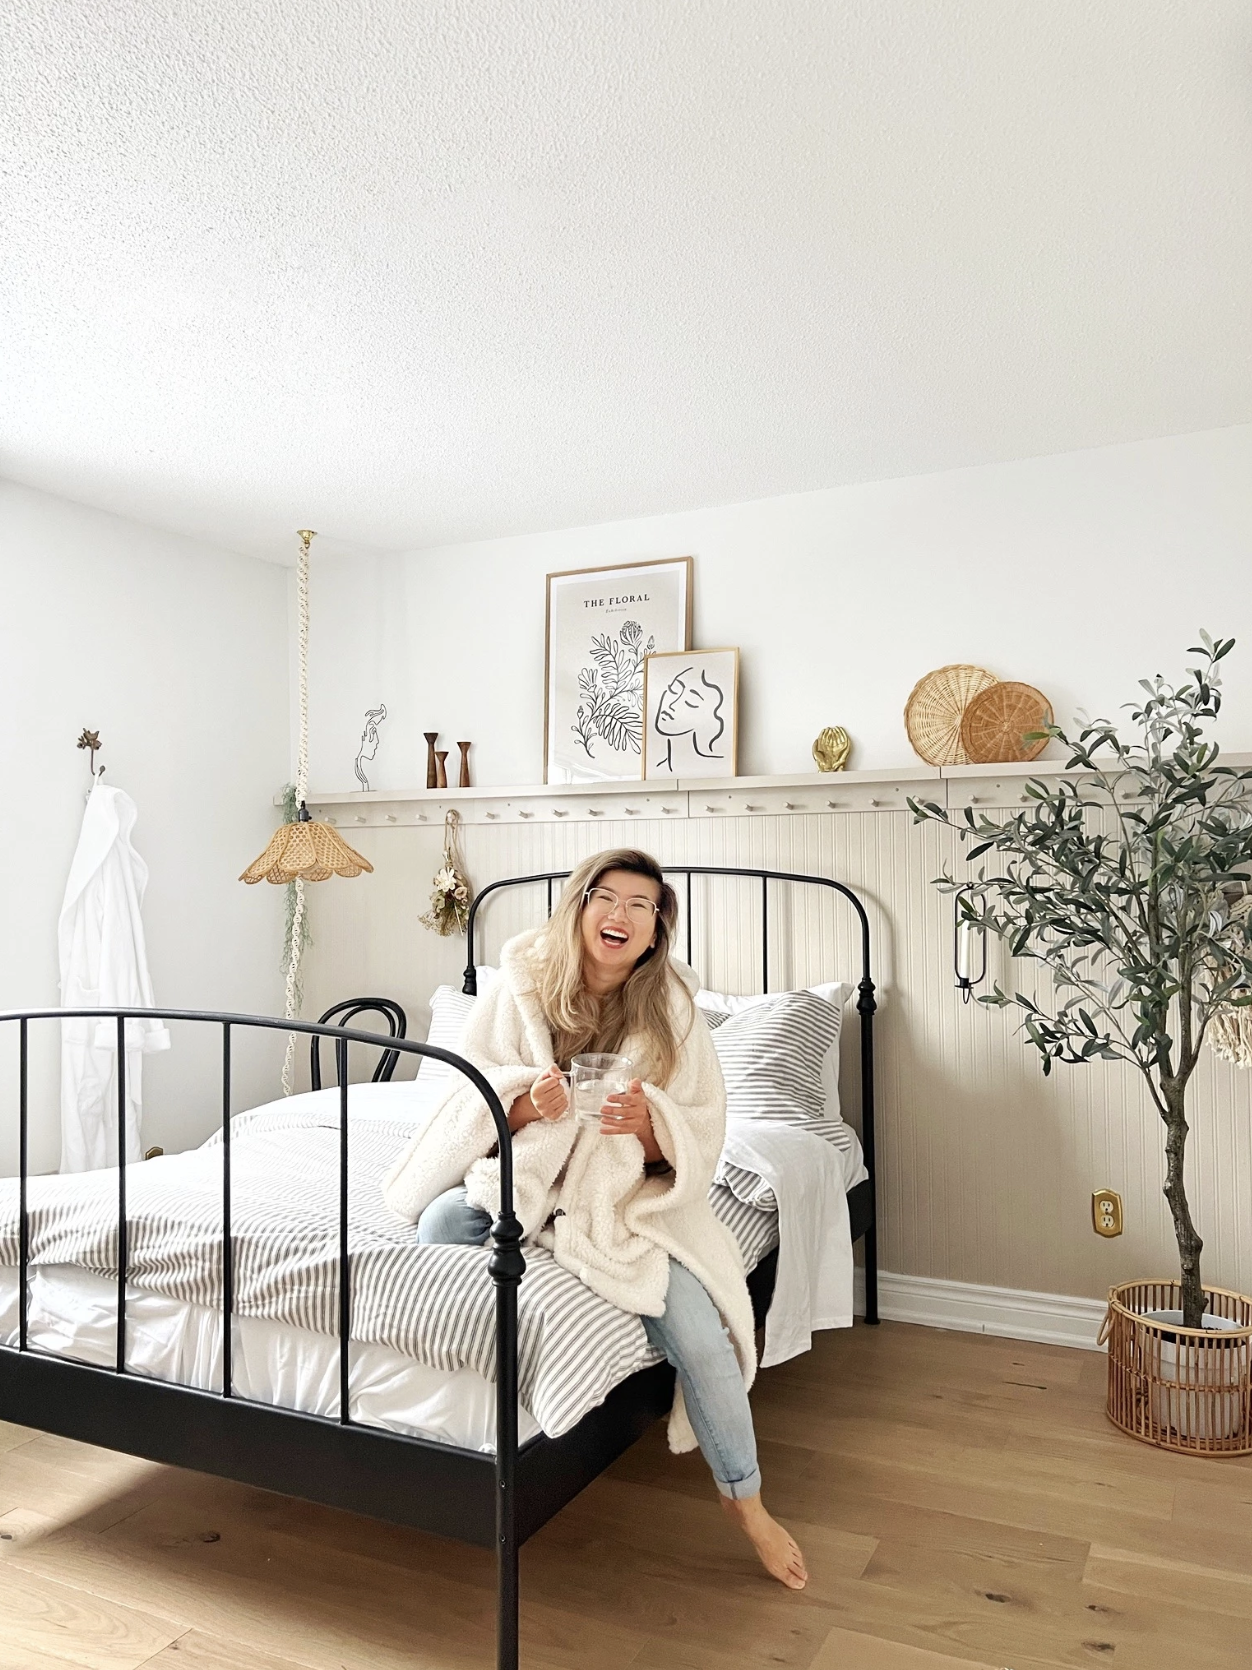
I put our second hand (sadly discontinued) IKEA bed in front of it. But I linked a few here for all budgets!
I love the look of black iron beds and have one in our own bedroom too!
There's just something really timeless about it but look at some of the fun shapes they come in. It's my childhood dream to have a canopy bed one day!
Now to the finishing touches!
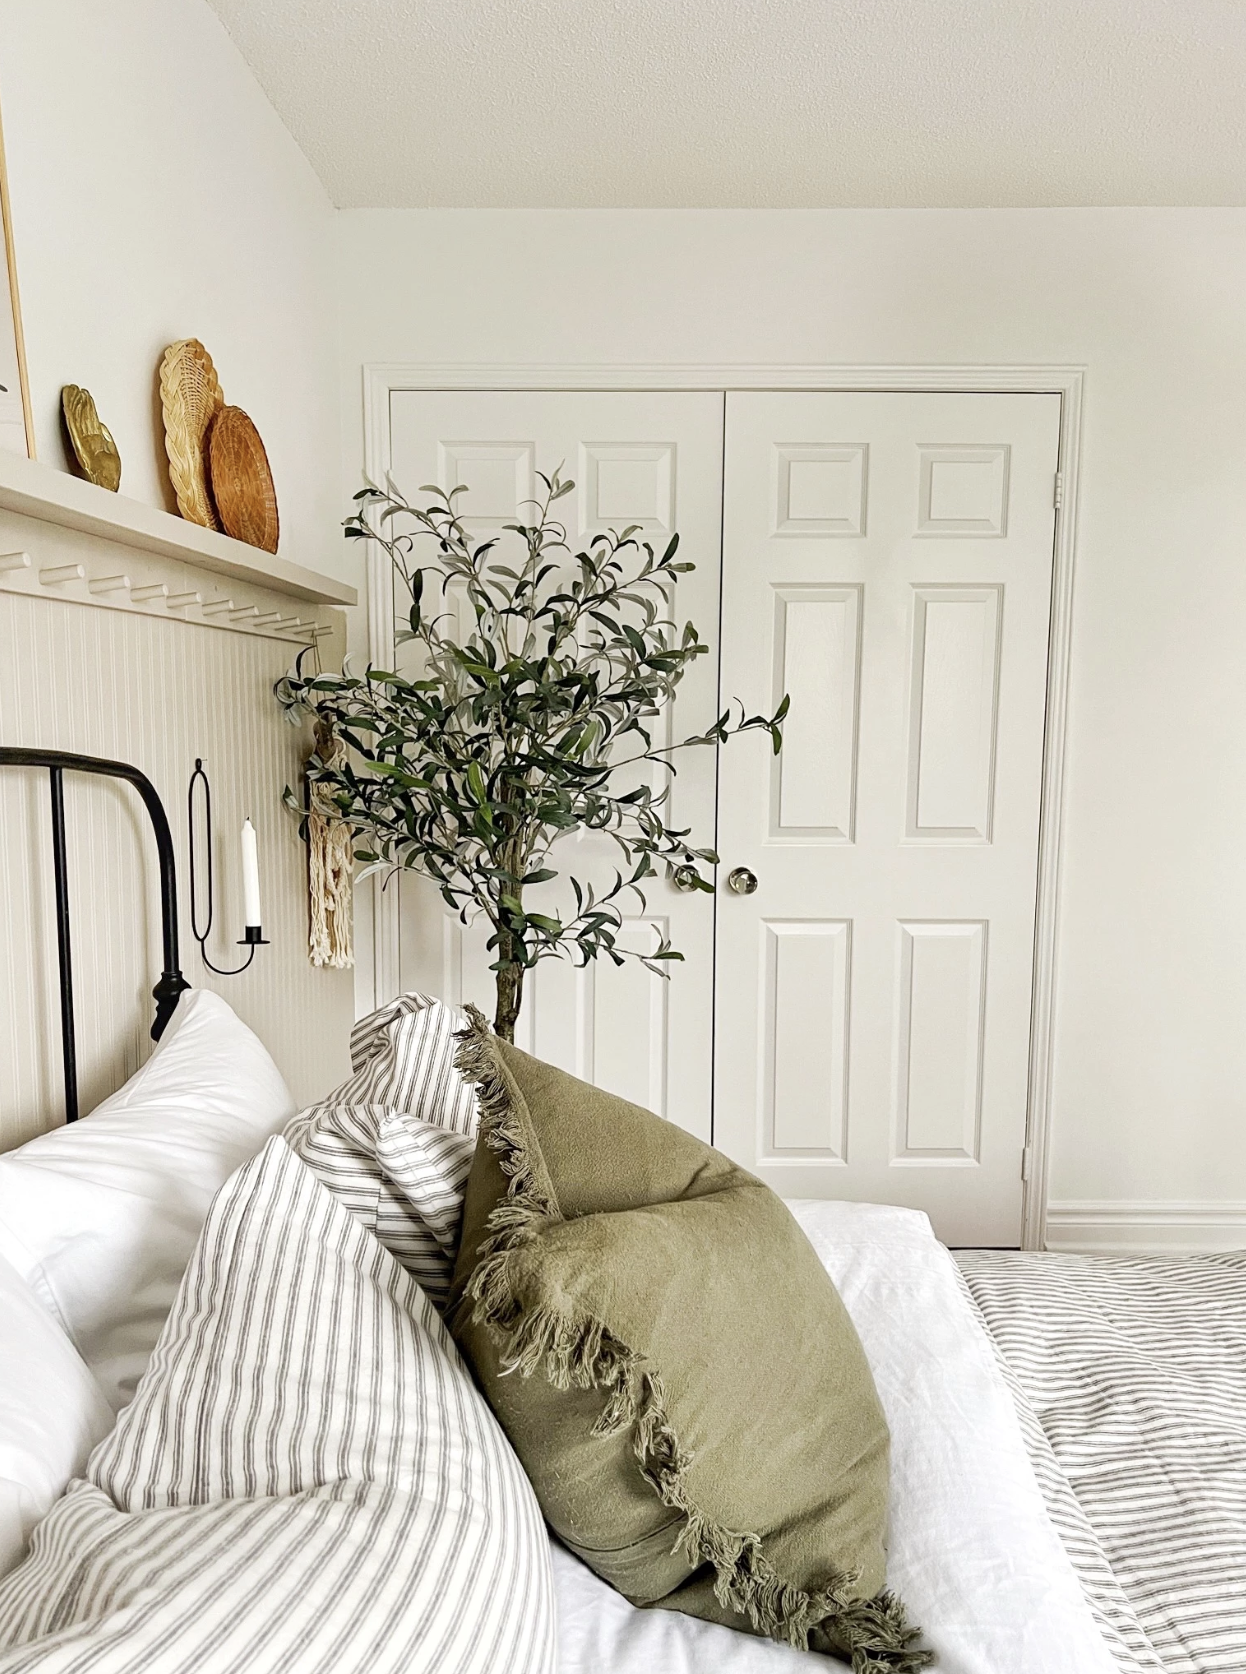
I popped in a faux olive tree. Hung up a vintage light and leaned some artwork on the ledge. And voila! Our guest room is ready to host it's first guest! Link to the other products featured here!
I hope you enjoyed this blog post and if you try it, I'd love to see it!
Thanks for reading,