

Easy and Affordable Open Shelves
In every DIY kitchen I've ever designed (three to be exact) I've always made sure I had a spot for open shelves! And I've installed them, in the same way, every time!
Let me show you what we did in varying budgets. The most affordable being $9 and the bougiest one being $250.

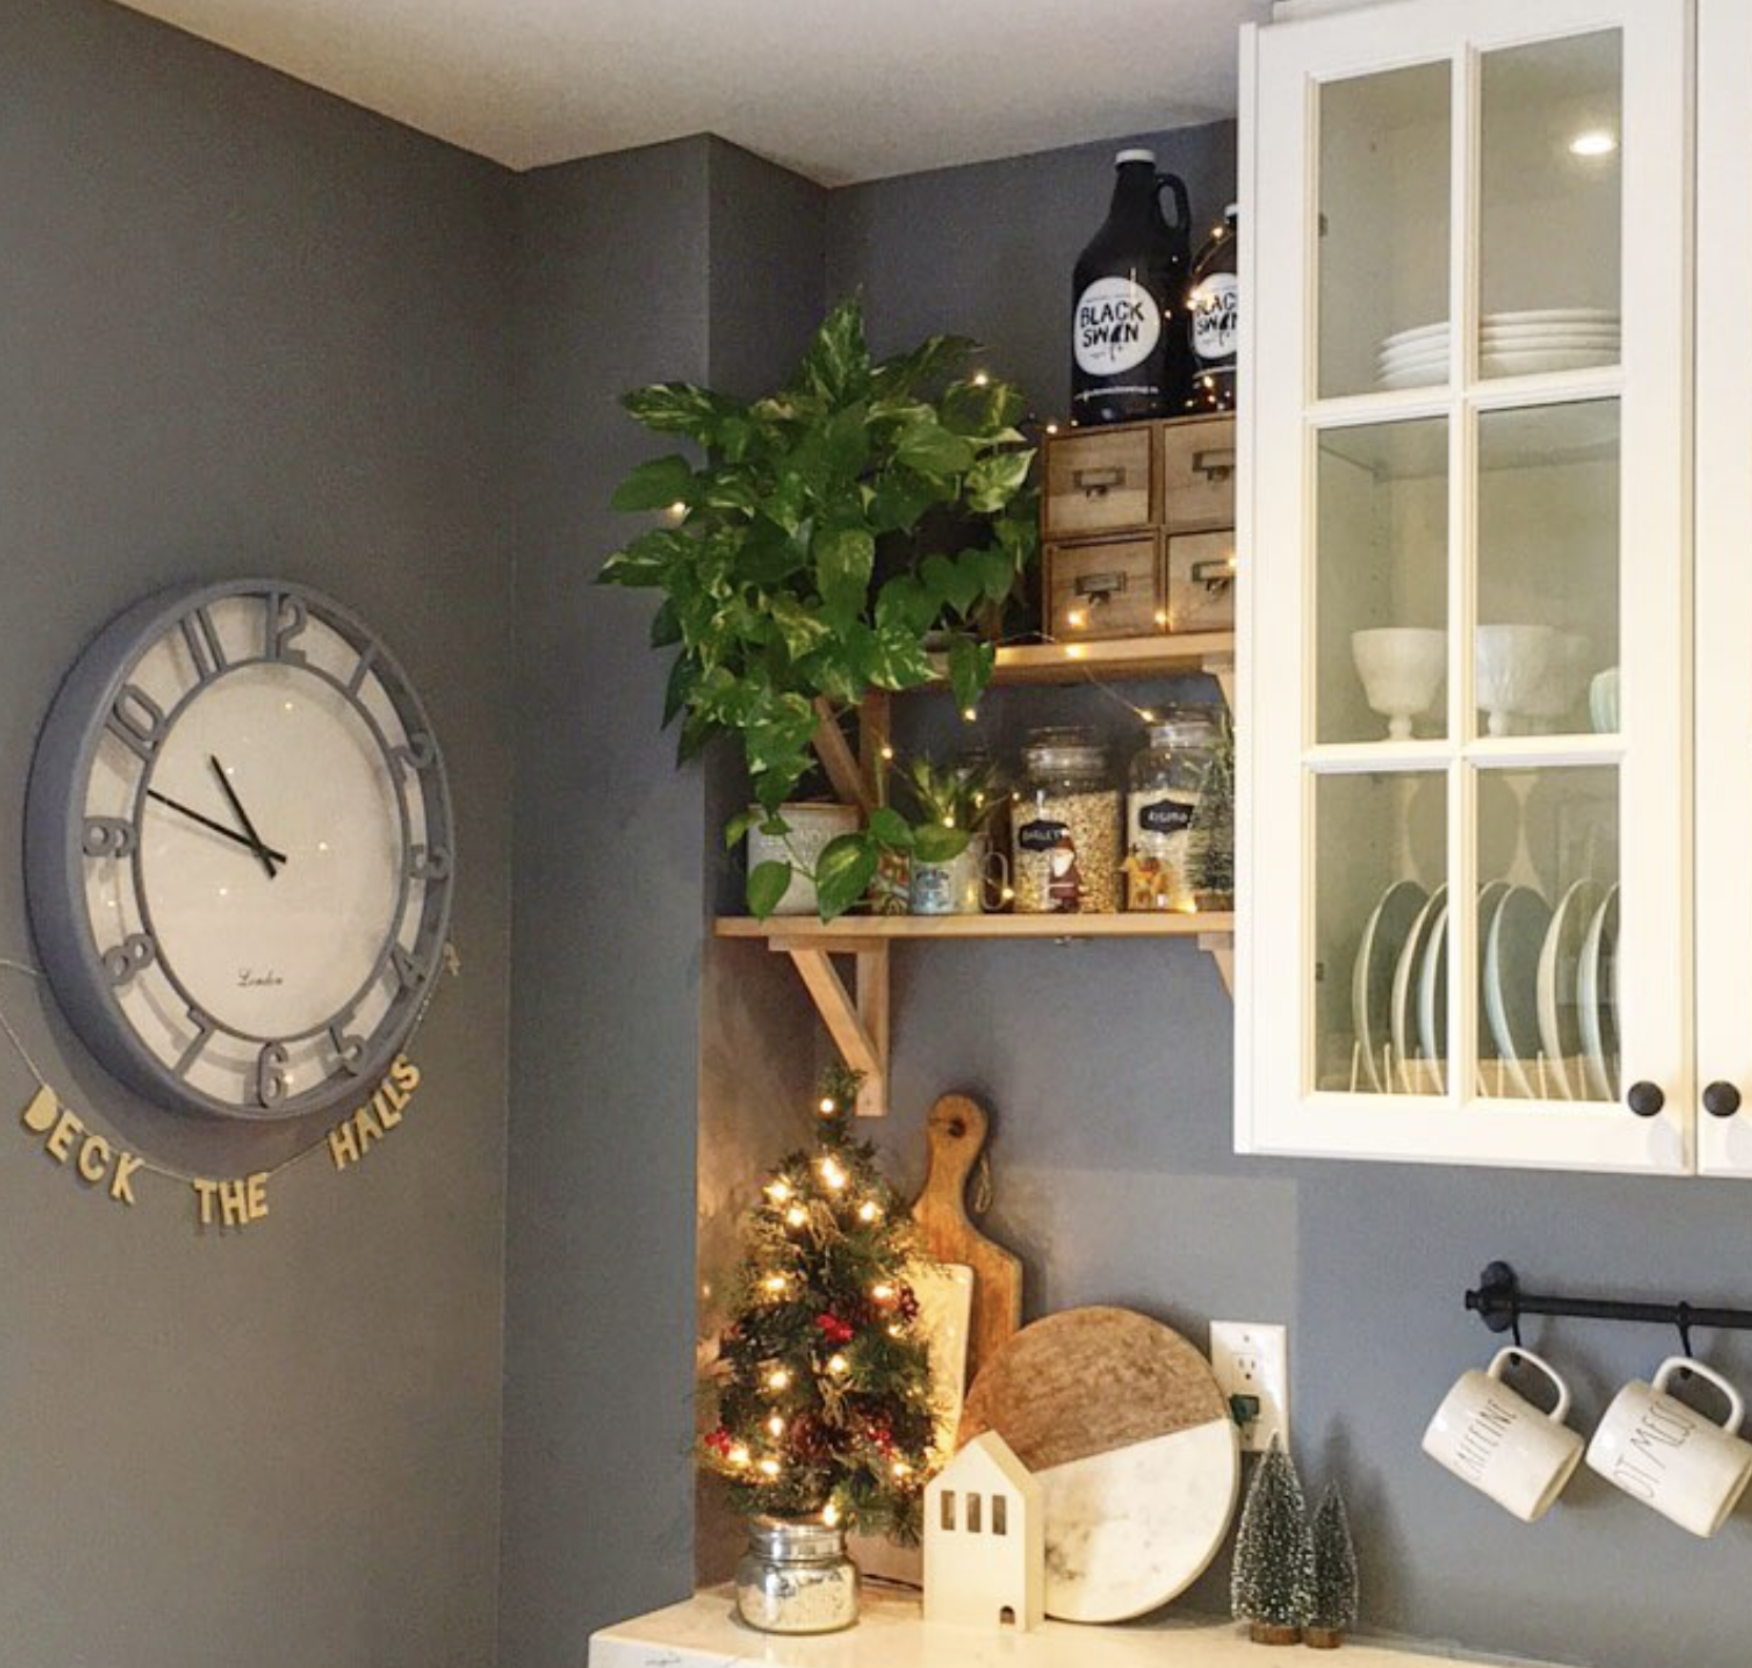

1) Most Affordable Option
Let's start with the most DIY budget friendly option. I have one word for you. IKEA!
These shelf brackets are only $2 each and you can buy a board for them for $5. That's how I achieved the look here in our first kitchen!
I didn't even varnish or stain them! I just put them up with anchors into the studs and voila! Total cost here for the open shelves was $36!
Just a note: I couldn't seem to find the wooden boards I used here. But isn't this kitchen so cute! It was done on a budget and I was very very proud of it!
My style really evolved from the farmhouse vibe you see above. Mostly because it was the most accessible and affordable style that I liked at the time. (I think it's all the affordable thrifting we did. Our dining entire dining table set was $70- thanks Facebook Marketplace and dumpster diving!)
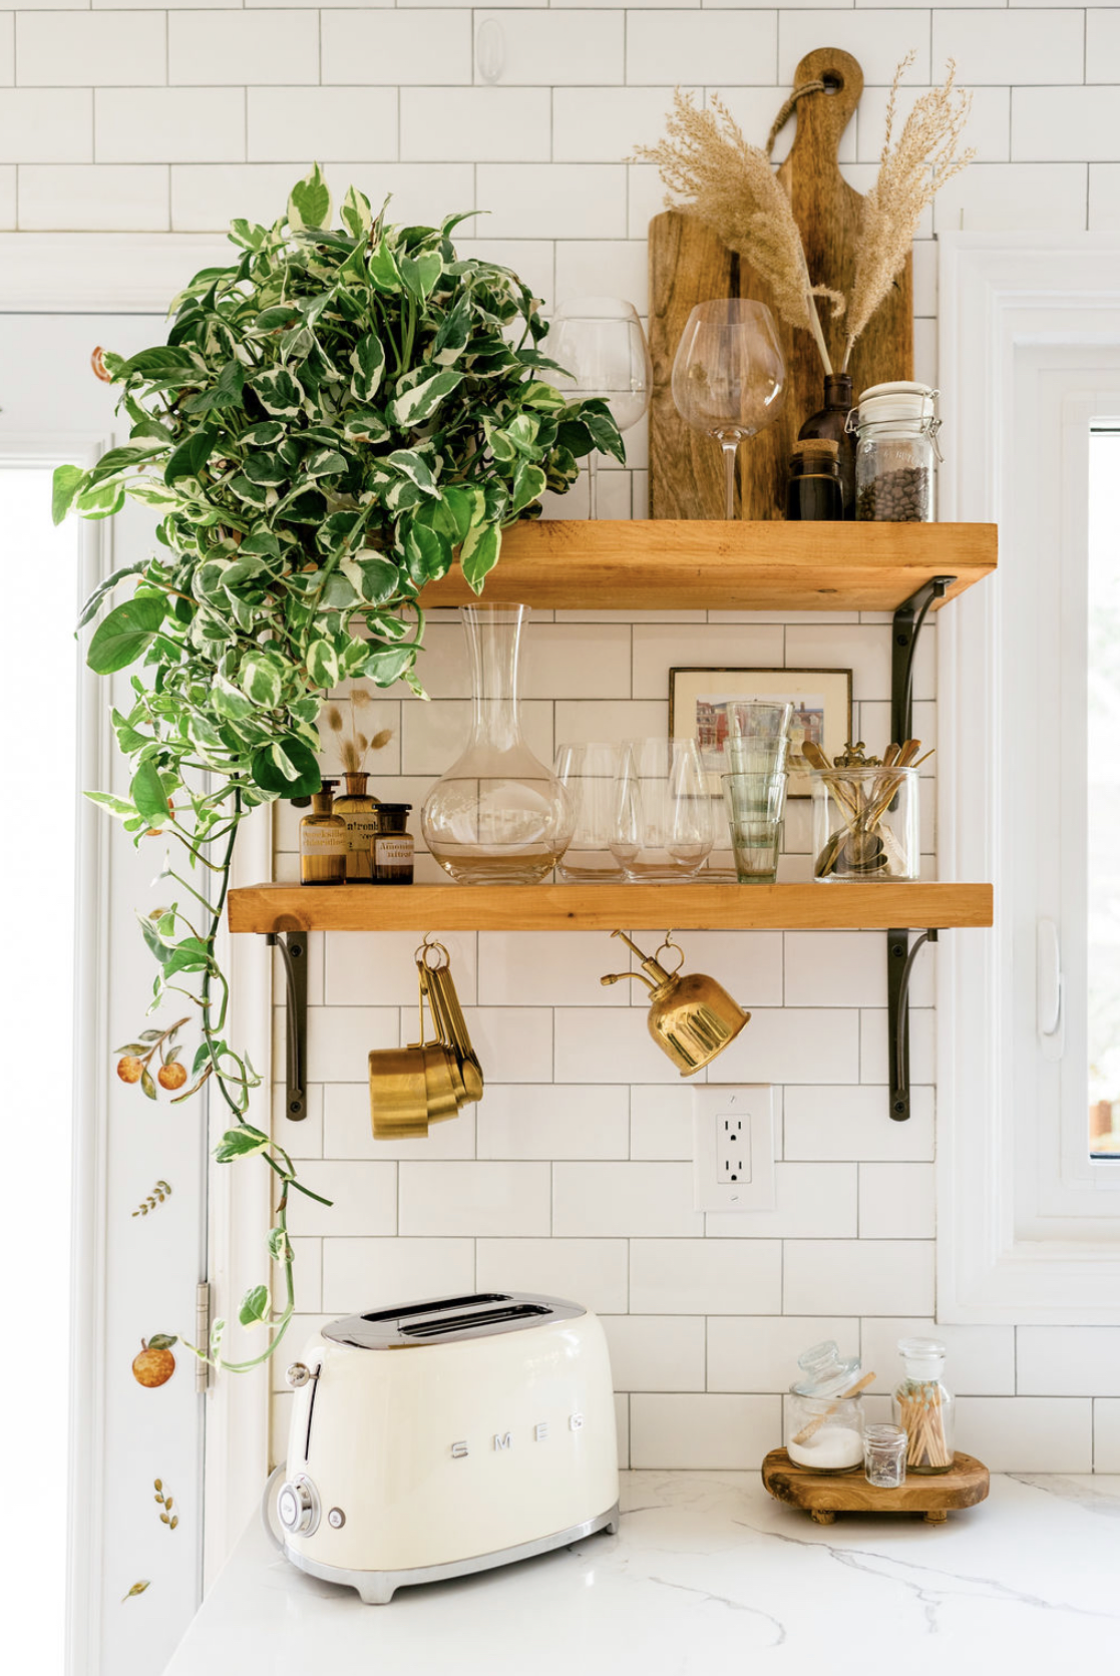
2) Upgraded version
This is the "fancier" DIY version of what I did in the first house. It cost $30 per shelf. So in total for 4 sets of shelves were $120.
We measured the space we wanted the shelves and went to the hardware store. There, we picked up two long planks of pine and gave the measurements to the folks at Home Depot who cut it for us.
You can find these longer and thicker planks of wood at the far left of the store- they tend to be near the back where the lumbar area is and they are lonnnngggg.
If you want your shelves to be smooth to the touch, give them a good sand before applying wood conditioner (this helps your stain absorb evenly) and then stain them the colour of your choice.
Here I used Varathane Premium gel stain in Golden Pecan. The brackets were $15 a piece and can be found here. They are by Knape & Vogt and are made for 8"-10" shelf depth for a maximum of 16 inches apart when mounted.
Make sure you use a stud finder to find the optimal place to put your bracket. If where your stud is does not align with where you want your bracket, use a sturdy anchor or ask a handy person to help you put it up the safest way possible.
TIP: We drilled into tile here and we had to use a diamond drill bit so that we didn't crack the tile. You can use a regular drill bit if you're just drilling into a stud.
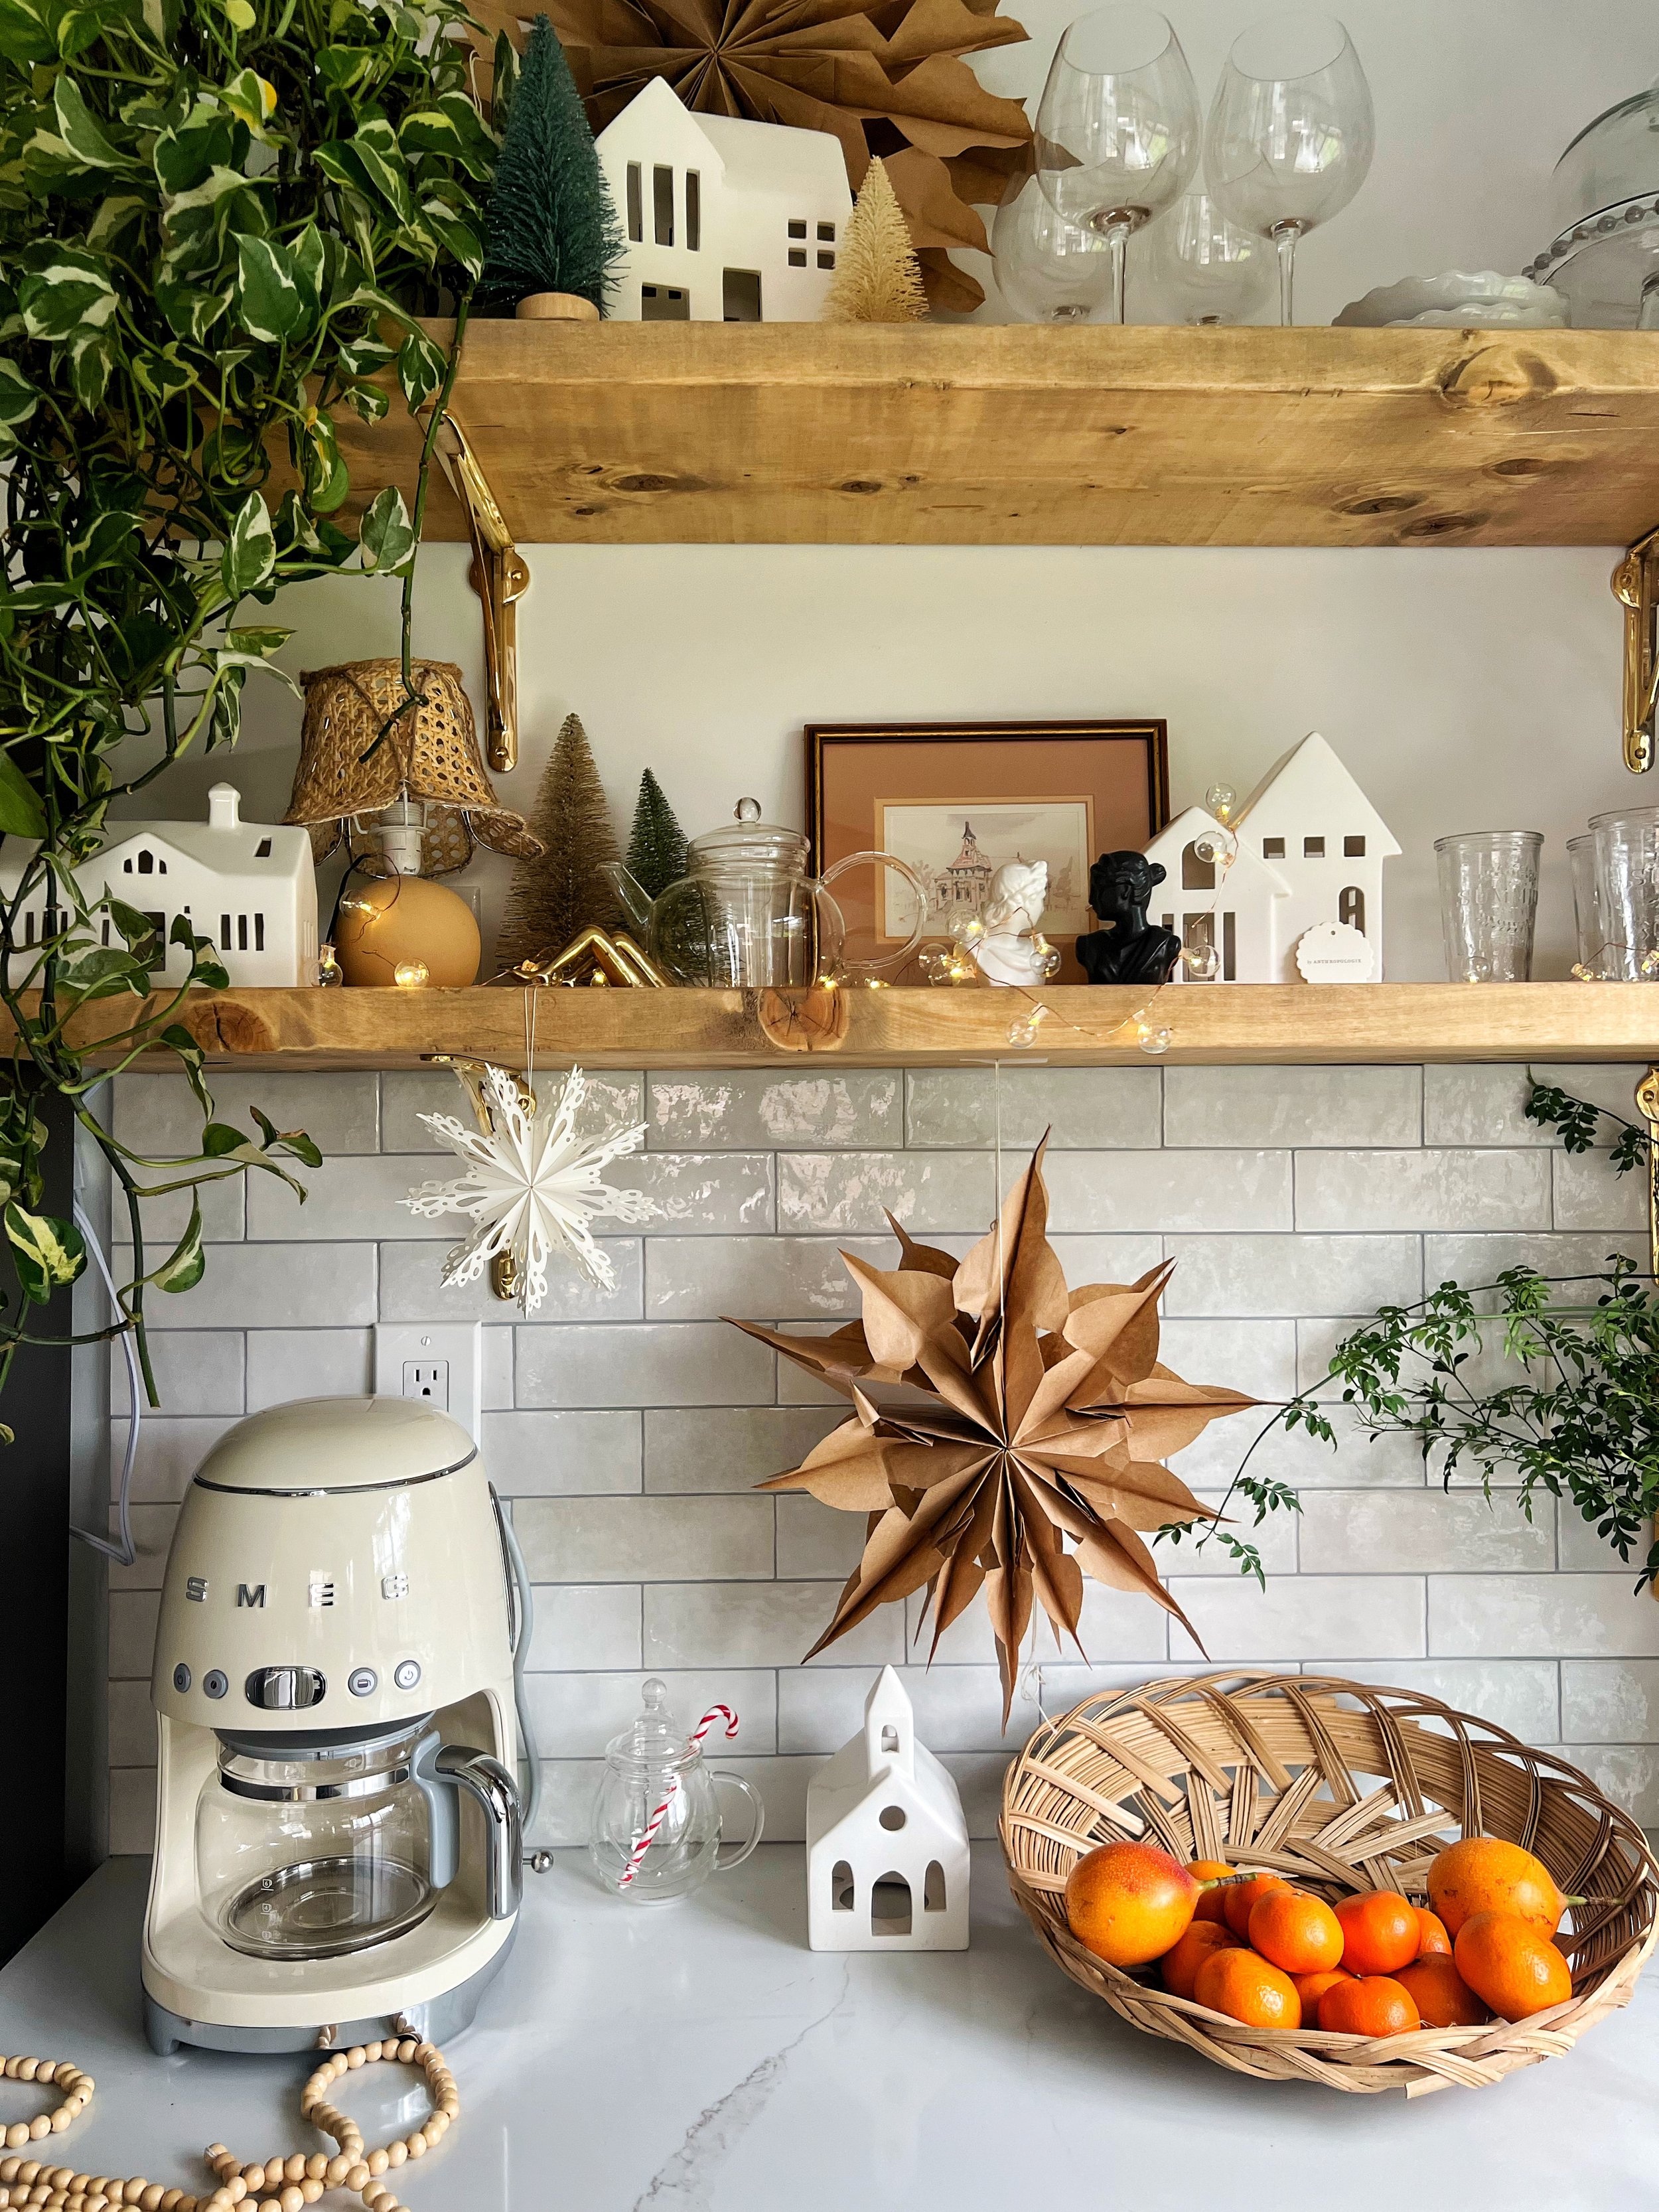
3) The "Fanciest" Option
This is the most expensive version of these shelves that ever graced our home. Simply because the cost of lumbar went up and I splurged on the brass brackets.
I did the exact same thing as Option 2, I went to Home Depot, selected a piece of lumbar that fits the depth I needed which was 11". I got the a kind employee to cut it down to size for me. If you're curious it's 58".
Then I prepped the wood for stain in a well ventilated area.
Sand
Clean
Use wood conditioner
Stain with lint free rag
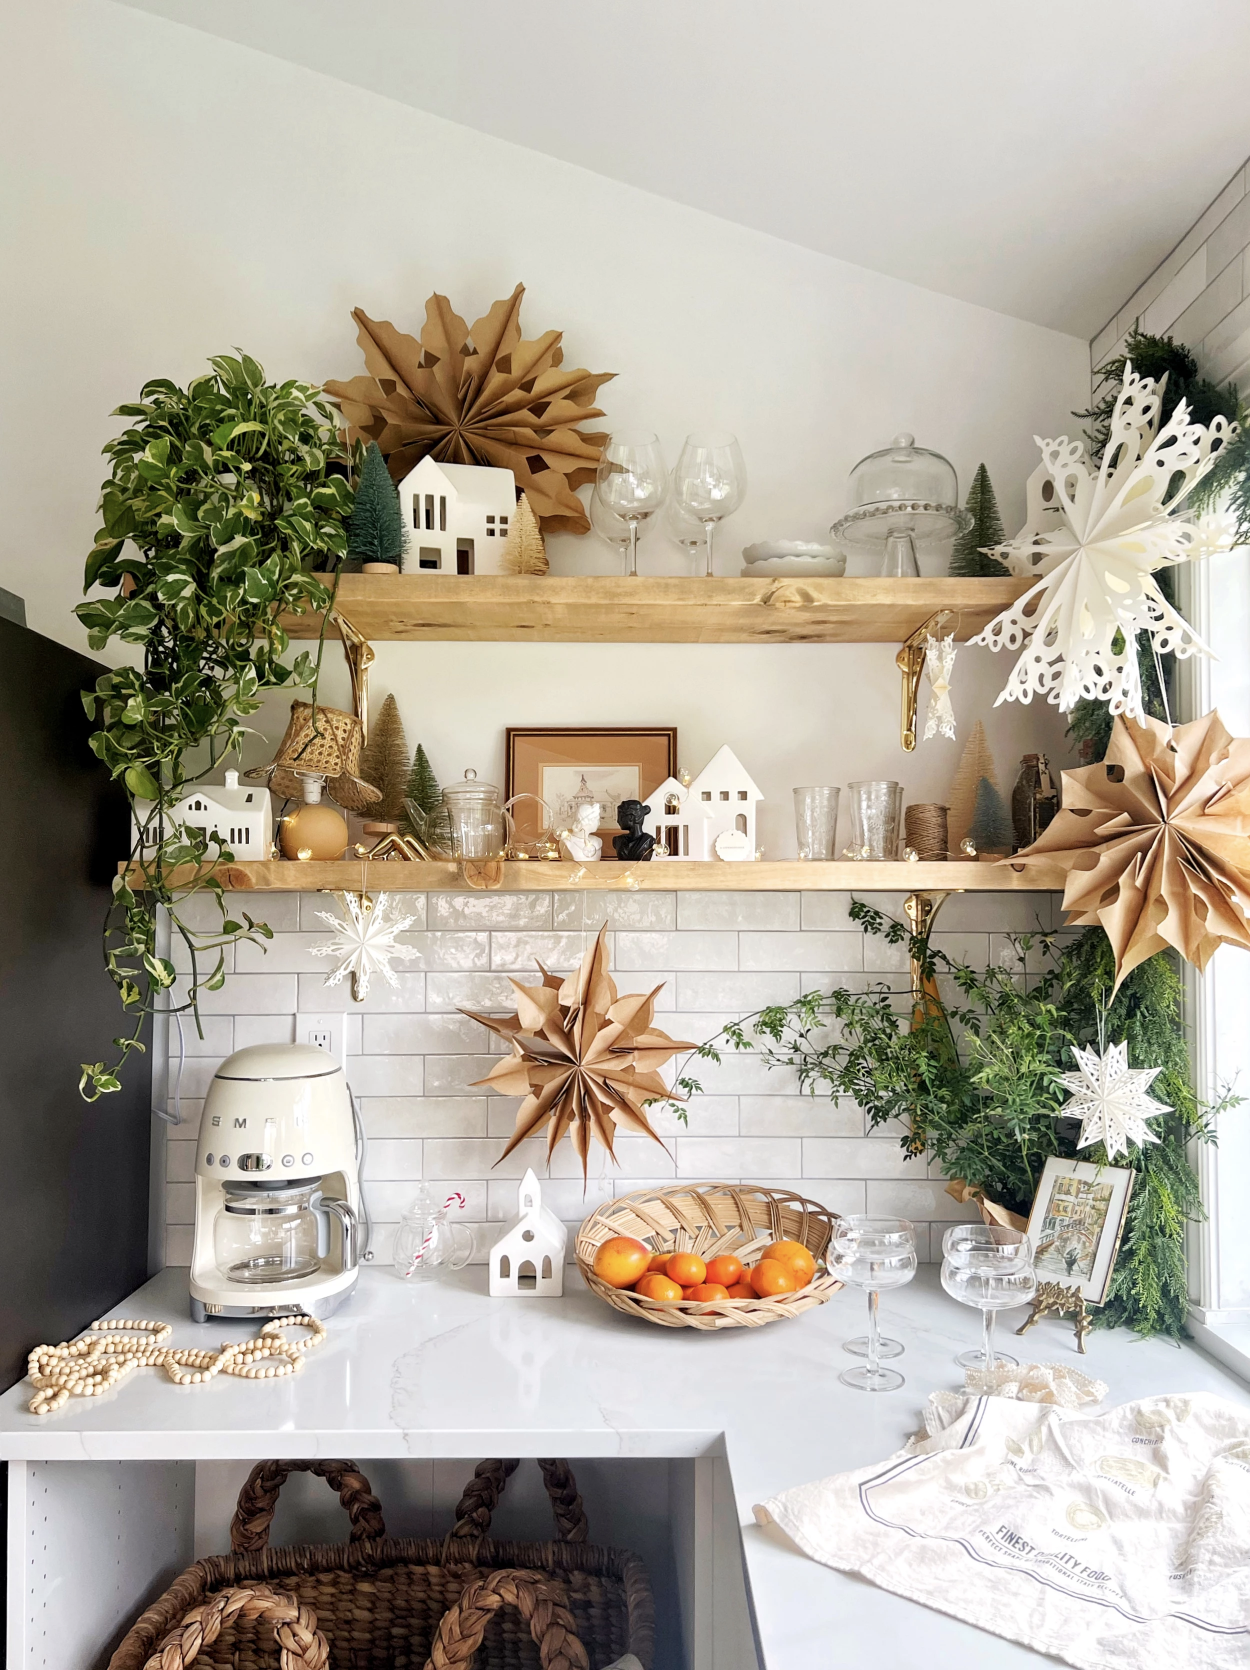
For the stain, I used a combination of Varathane's Weathered Oak and Golden Pecan in the ratio of 3/4 Weathered Oak and 1/4 of Golden Pecan. I tried to compliment our floors and beams in the kitchen but you can do whatever stain you like to suit your home!
We picked the perfect spot for these shelves if I do say so myself. The studs were aligned in the exact places we needed them to be! Hurrah!
The brackets are the best part I think. I'm linking them here and they are the 10 inch brackets. This seller is based in the UK and ships promptly and duties were not unreasonable the two times I've ordered from them. I highly recommend this shop. You'll be happy to know that they make brackets in various sizes ranging from 4.5" to 10" to suit your needs. (Side note: I also bought my kitchen hardware here!)
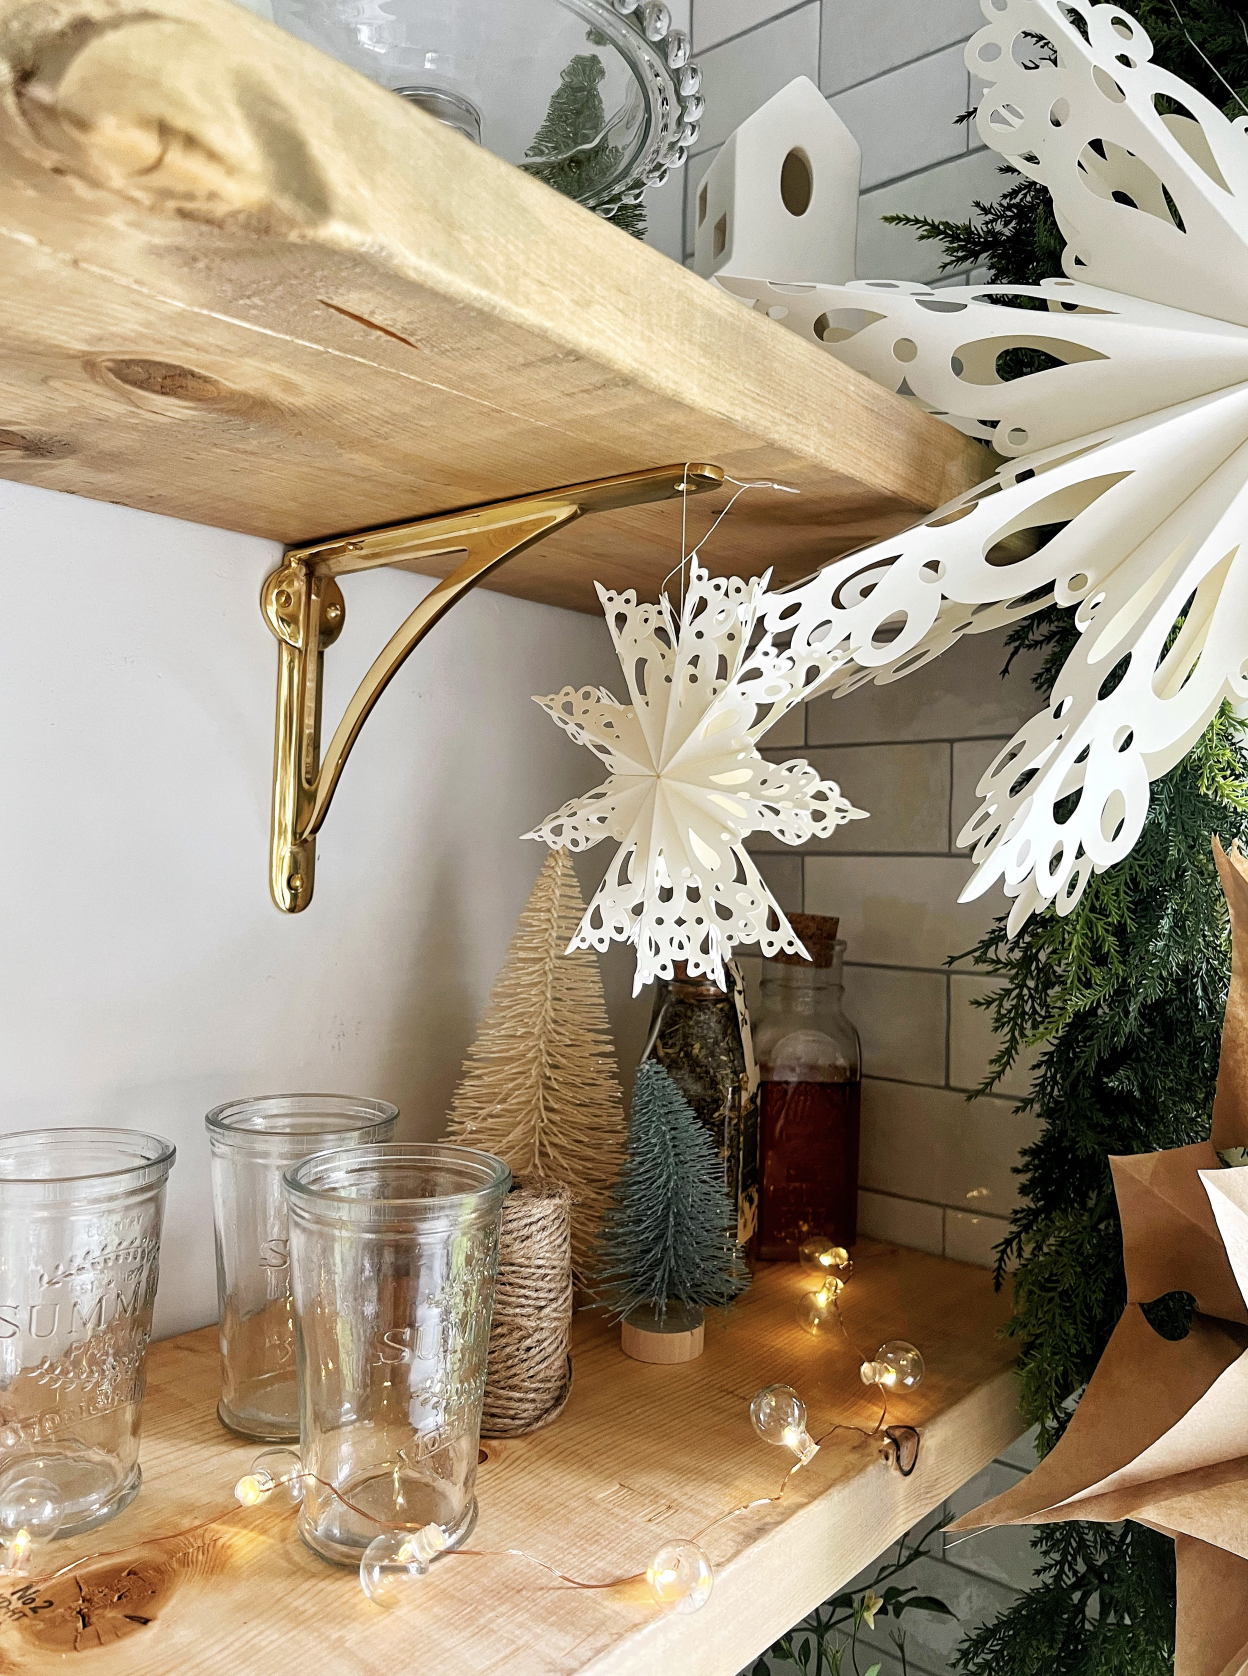
They were priced at $48.10 Canadian so I spent a pretty penny on them but they are so worth it! And to be honest, not steep at all for solid brass hand made items!
It adds an extra bit of sparkle to our kitchen and I love it so. much!
I hope this blog post answered some of your questions regarding our open shelves. These are always my favourite spots in my home to style and to enjoy. I have been staring at these shelves the past 48 hours that they have been up and they've already been rejigged TWICE! LOL!
Thanks for reading!
Love,