

My Kitchen Reno Part 1
Hey guys, I wanted to answer some frequently asked questions regarding my kitchen! Here you will find links to products I have used or the closest to the item I have. Some of the links will give me a commission at no additional cost to you. Hope you find part one of this blog post helpful!

I thought I would answer some background questions first before we head into the gritty details (like sourcing and such).
Did you live in your house before you renovated?
We did not! We jumped right into designing and renovating. We had a time crunch so I did not have the luxury of living in the space before designing it. If you want more backstory to that you can read here.


However, I will say that there are pros in renovating before you move in. Namely your belongings are not in the way! I've never had the opportunity
Did you design your kitchen yourself or did you hire a designer?
We hired a general contractor and a structural engineer for this renovation and I designed the layout and picked out the materials myself. This was my second experience designing a kitchen. I found it valuable to have a sounding board in my general contractor as I ran different configuration of my kitchen by him. We worked closely together with my structural engineer to figure out if my designs could come to life.


How did you design it yourself?
I started by looking at inspiration and saving images I loved and created a mood board. You can read my blog post here on how I start any of my renovations and redecorating journey.
When I figured out the aesthetics and feel I wanted for my kitchen I started asking myself what I needed in a kitchen and where that item will go. I started with the appliances and then worked the cabinetry around it. I was really meticulous in my design in this sense because I knew what every drawer would hold. This came in hand because I could customize the size of the drawers, as an example, I had two extra deep drawers next to my stove because I planned to put my stock pots and pans in there!

Then came to sourcing and finding the cabinet makers and finding the most affordable tile and counter top options that would fit into my budget. You will have to shop around in your area offline and online. There was a lot of visits to the hardware store/ tile store/ kitchen store (I would say close to a hundred visits throughout the entire project.)
Some of the places I went to during the kitchen renovations based in Toronto are:
The Tile Shoppe
(1279 Kennedy Road, this was where we found a lot of our tile selections but you will have to buy right away because once the tile is gone you may not be able to find it back in stock.)
The Bath Emporium
(This place was great because they had a huge selection of sinks, toilets, baths, and fixtures.)
We Wood Cabinetry
(It's in Middlefield and they've changed their names several times. I don't necessarily recommend this company but I went with them because my contractor has a good working relationship with them.)
Zion Building Supplies
(3024 Kennedy Road) Some of their hardware was the cheapest we could find in the city, we bought all our black door knobs from this store and saved a couple hundred dollars.
Home Comfort Centre (They had similar offerings to The Bath Emporium but some of their items were on clearance and we took advantage of the sales they had during that time.)
And of course big box stores to compare prices. We bought what we needed when they came on sale.
Home Depot
(We bought our subway tile here because they were doing a promotion at that time. We also took advantage of their price matching for our appliances and scored some good deals that saved us hundreds of dollars.)
Lowes
(We got toilets and bathroom sinks here because I liked some of their designs better.)
Rona
(I bought my shelf brackets here, but you could get that anywhere.) Home Hardware

How much did your kitchen renovations costs?
This is a really difficult one to answer. I have all the receipts and can tell you what every single item cost in my kitchen. However, the cost of labour is a tricky calculation because we had several projects going on at the same time.
If I had to guesstimate, I would ballpark the kitchen renovations to around $50,000. This includes the structural engineer that came in and took out a huge wall on the main floor, the cabinetry, counter tops, appliances and hardware. It also includes the labour of my contractors as well.

However, I do not think this is an accurate budget because this does not include the flooring as we have hardwood floor throughout the house as oppose to tiles in the kitchen. It also cost a bit less because we have a good working relationship with my general contractor who in turn has great working relationships with the cabinet makers and the granite company we chose this slab at. It also does not factor in the time and effort (around 5 months of planning and coordinating it took me to design and oversee this project.)

How did you keep in your budget?
I am not a designer by trade but dipping my feet in the first time gave me a good starting point. I knew where to look for sources in my city and I price matched where I can (we saved a few grand on appliances alone through price matching). It was not convenient to do this at all though because I spent a lot of my free time driving around picking up items that could be purchased all in one place.
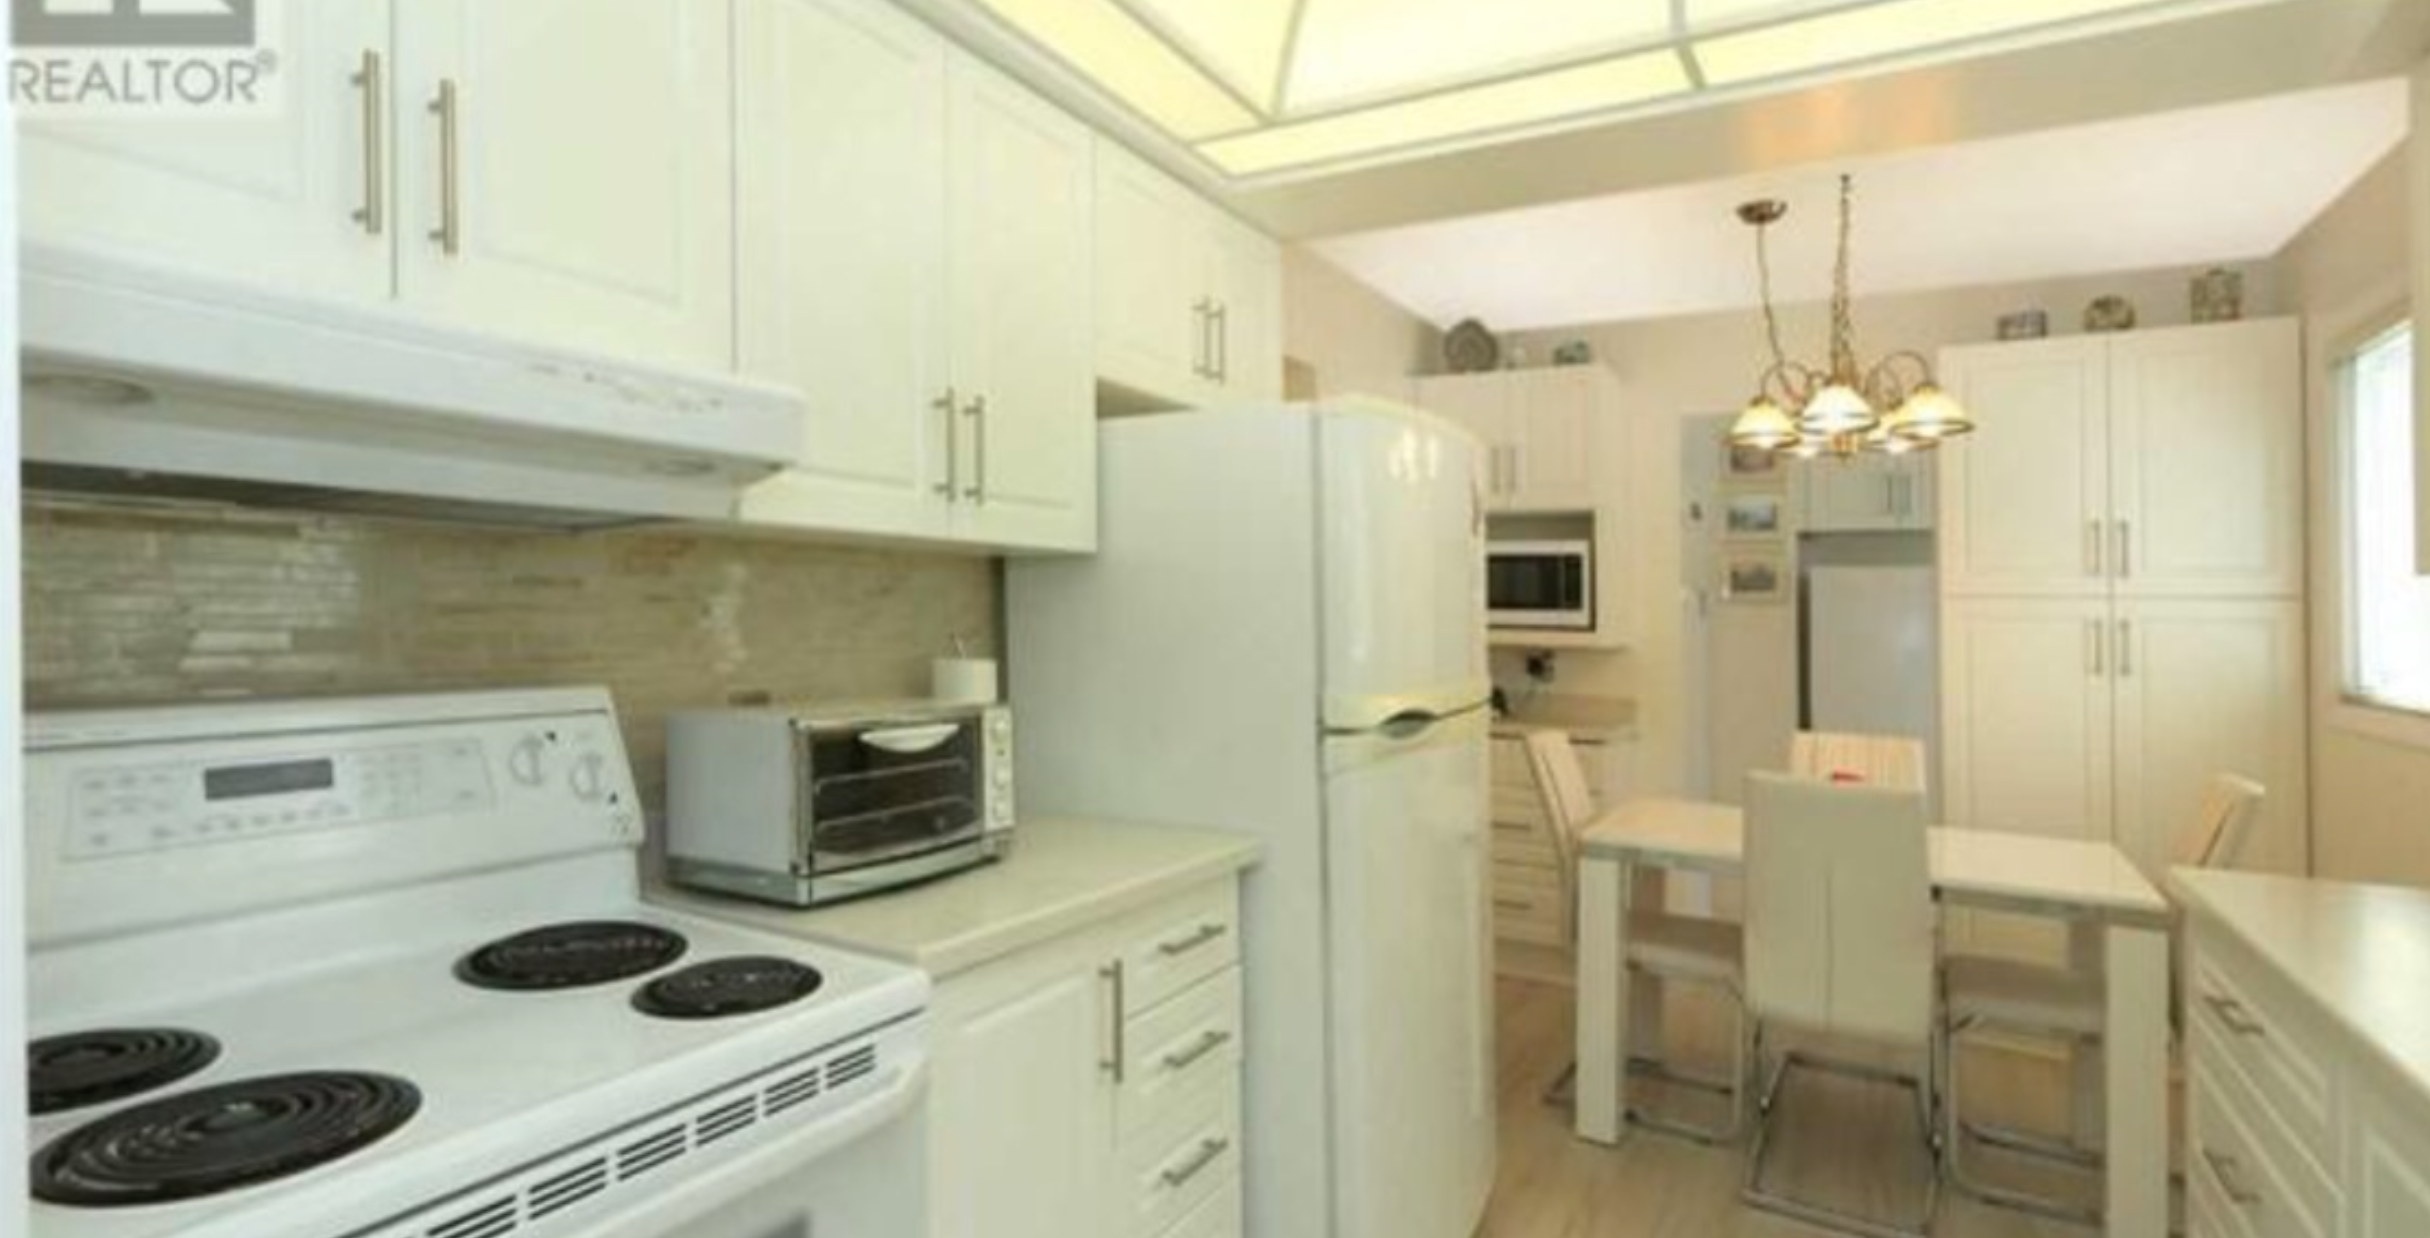
I also kept costs low because we did not move plumbing. The sink remained in the same area and I designed around it. We did move the fridge and stove which did not become a problem and did not cost us extra. We also kept a very similar layout that the previous owners had, a galley kitchen.

The single most expensive part of this project aside from labour was taking out our structural wall because we had to invest in a steel beam that ran across our main space.
We also compromised and used more inexpensive materials to compensate for the open concept cost. So instead of marble we used quartz, instead of a fancy tile, we chose subway tiles.
Another cost saving tip is to use open shelving. The open shelves only cost us around $100 (which I will break down for you on part 2 of this blog post.) But having no upper cabinets meant lowering our costs!
Ok I think that was most of the general questions I got about my kitchen. I know I didn't answer every possible question but I hope this helped! Stay tuned for part 2 for a more detailed list of links and explanation of design choices we made!
Thanks for reading!
Love,