

How to DIY a Mushroom Garland
The mushroom garland brings the soft and natural woodland inside without the mess!
This is the perfect easy diy to add to your cottage core decor this year! Hang it under a shelf like I did or layered on your mantle. It’ll even look perfect on your Christmas tree!

Items
Screwdriver
Painter’s tape (optional)
Screw eyelets/ eye pins
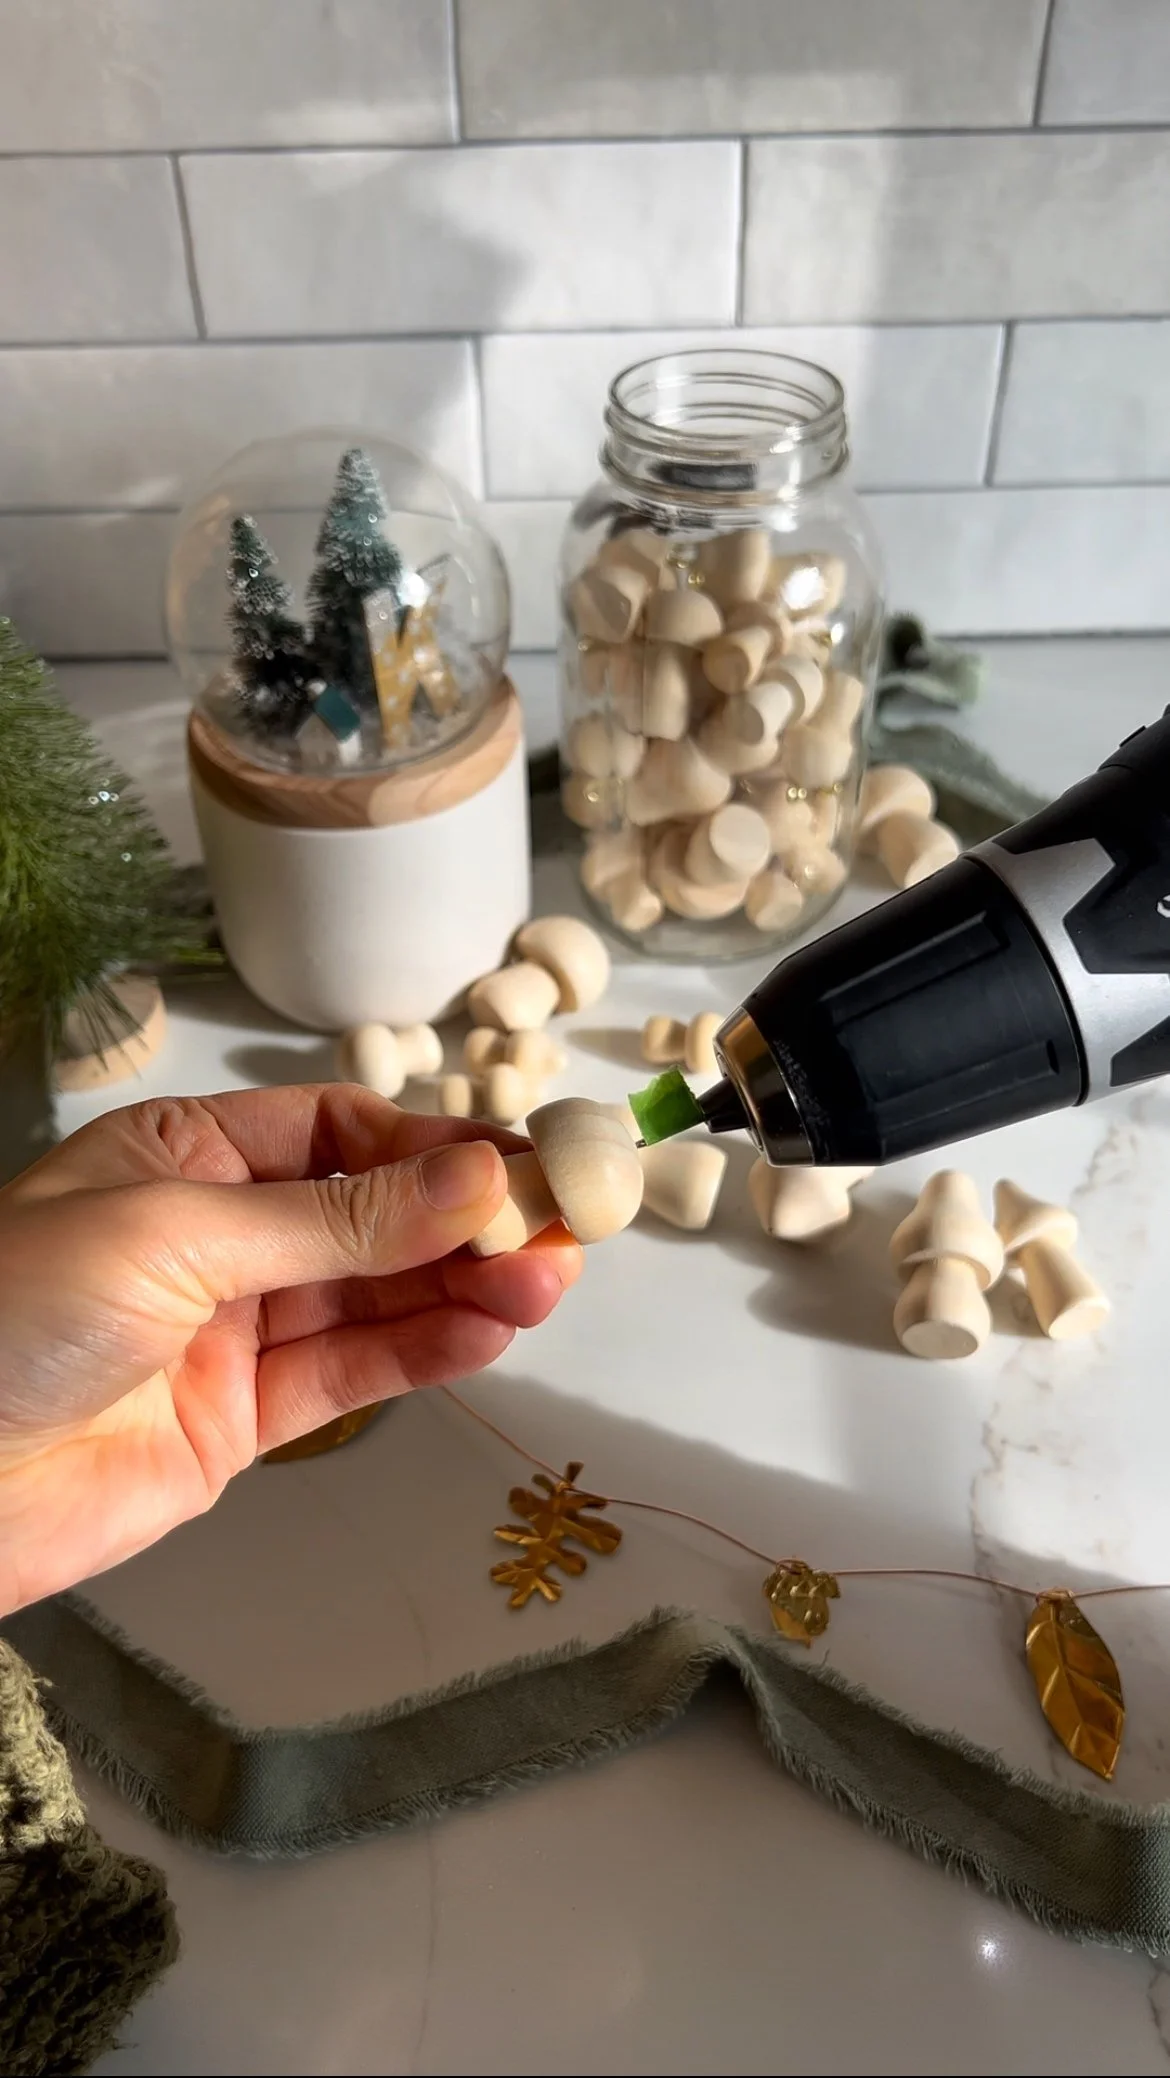
STEP 1
Drill a hole that is not as deep as your screw eyelet.
TIP
The drill bit size should be slightly smaller than the girth of your screw eye pin. I used a 1/16” drill bit. I also used a painter tape to guide my drill so that I didn’t go too deep.


STEP 2
Twist a screw eyelet into the hole until fastened.
TIP
I used slip joint plier to grip the screw eyelet once it was stable so it was easier on my hands to tighten all the way.
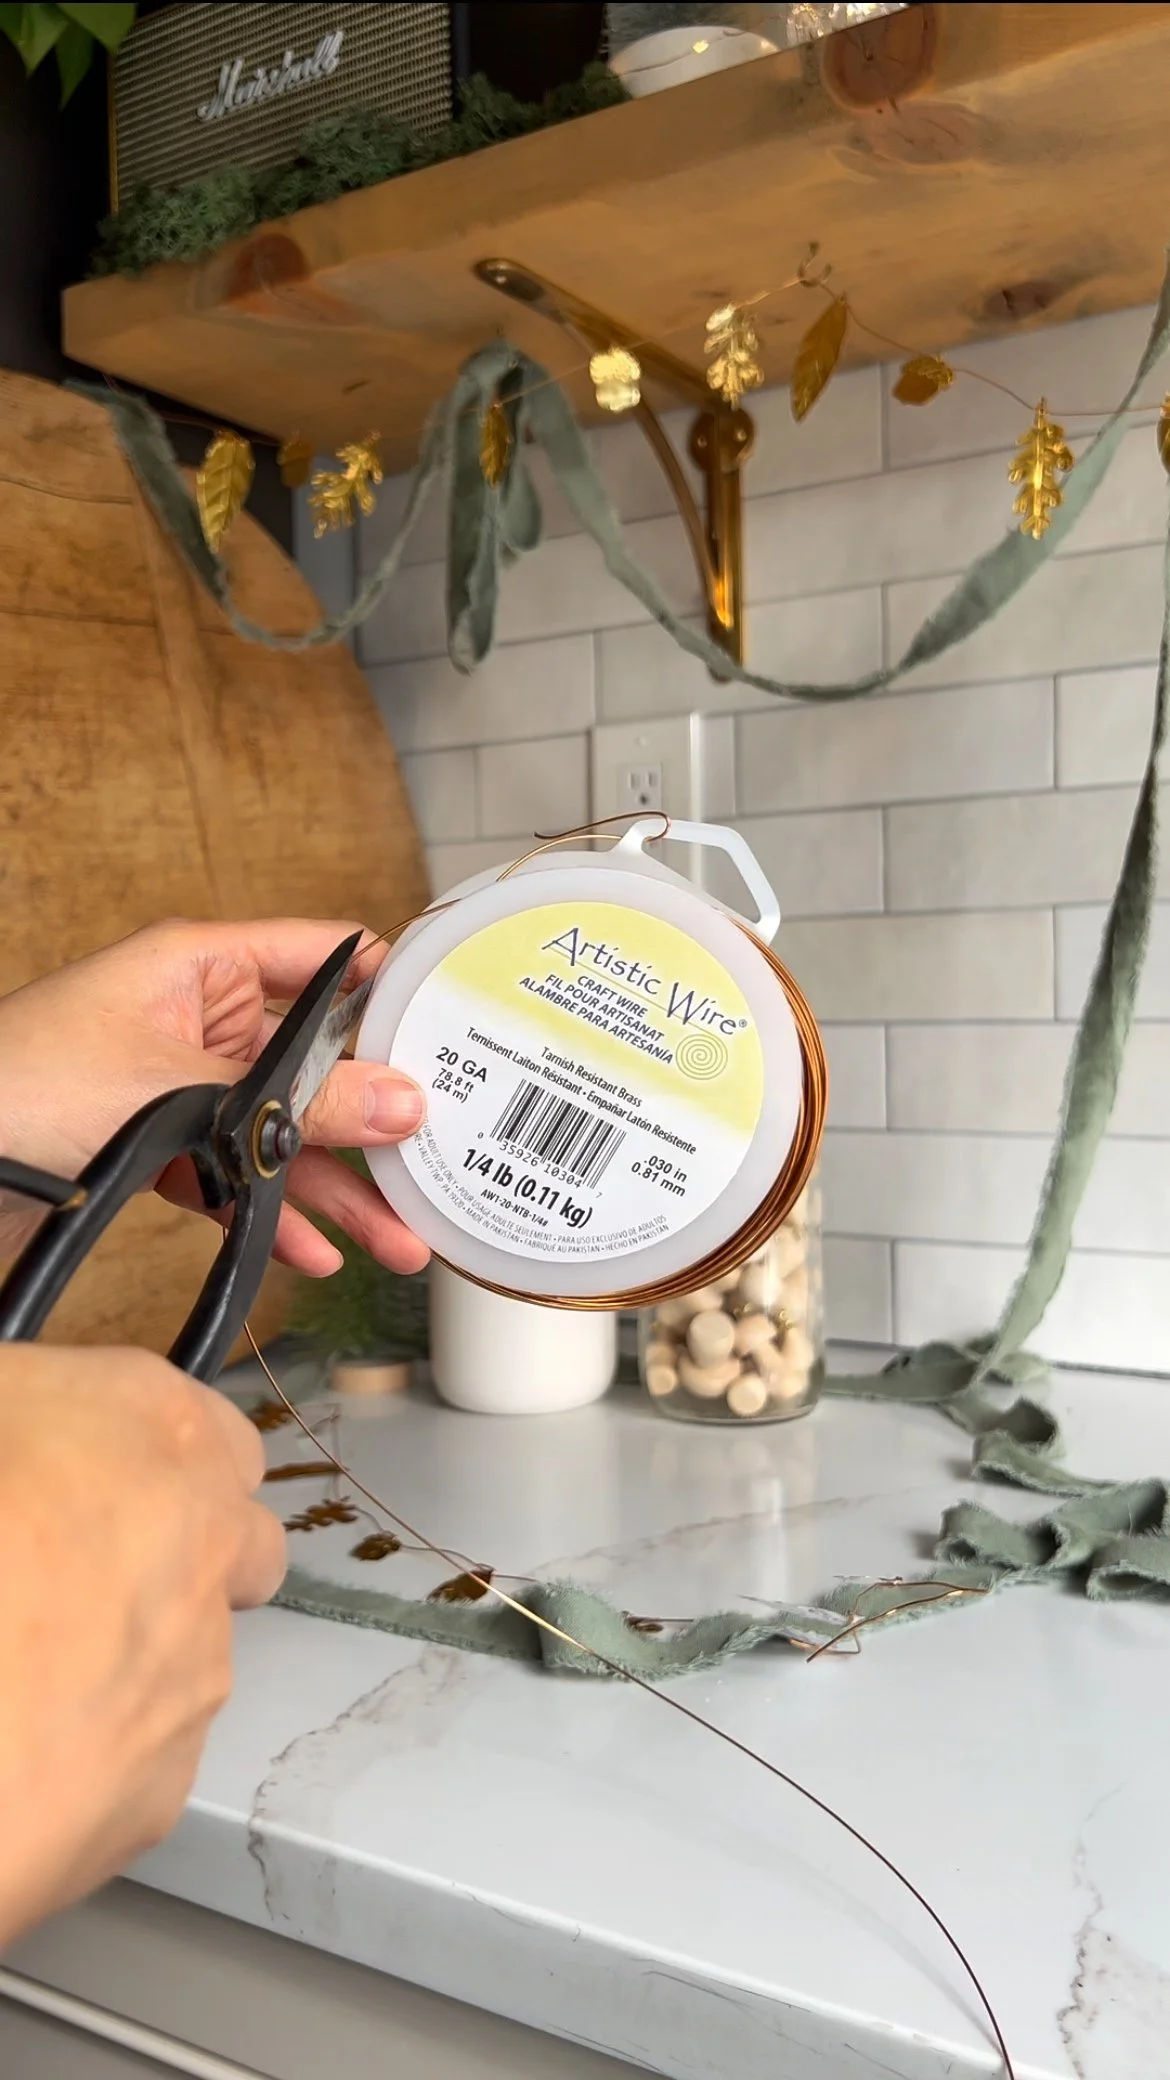


STEP 3
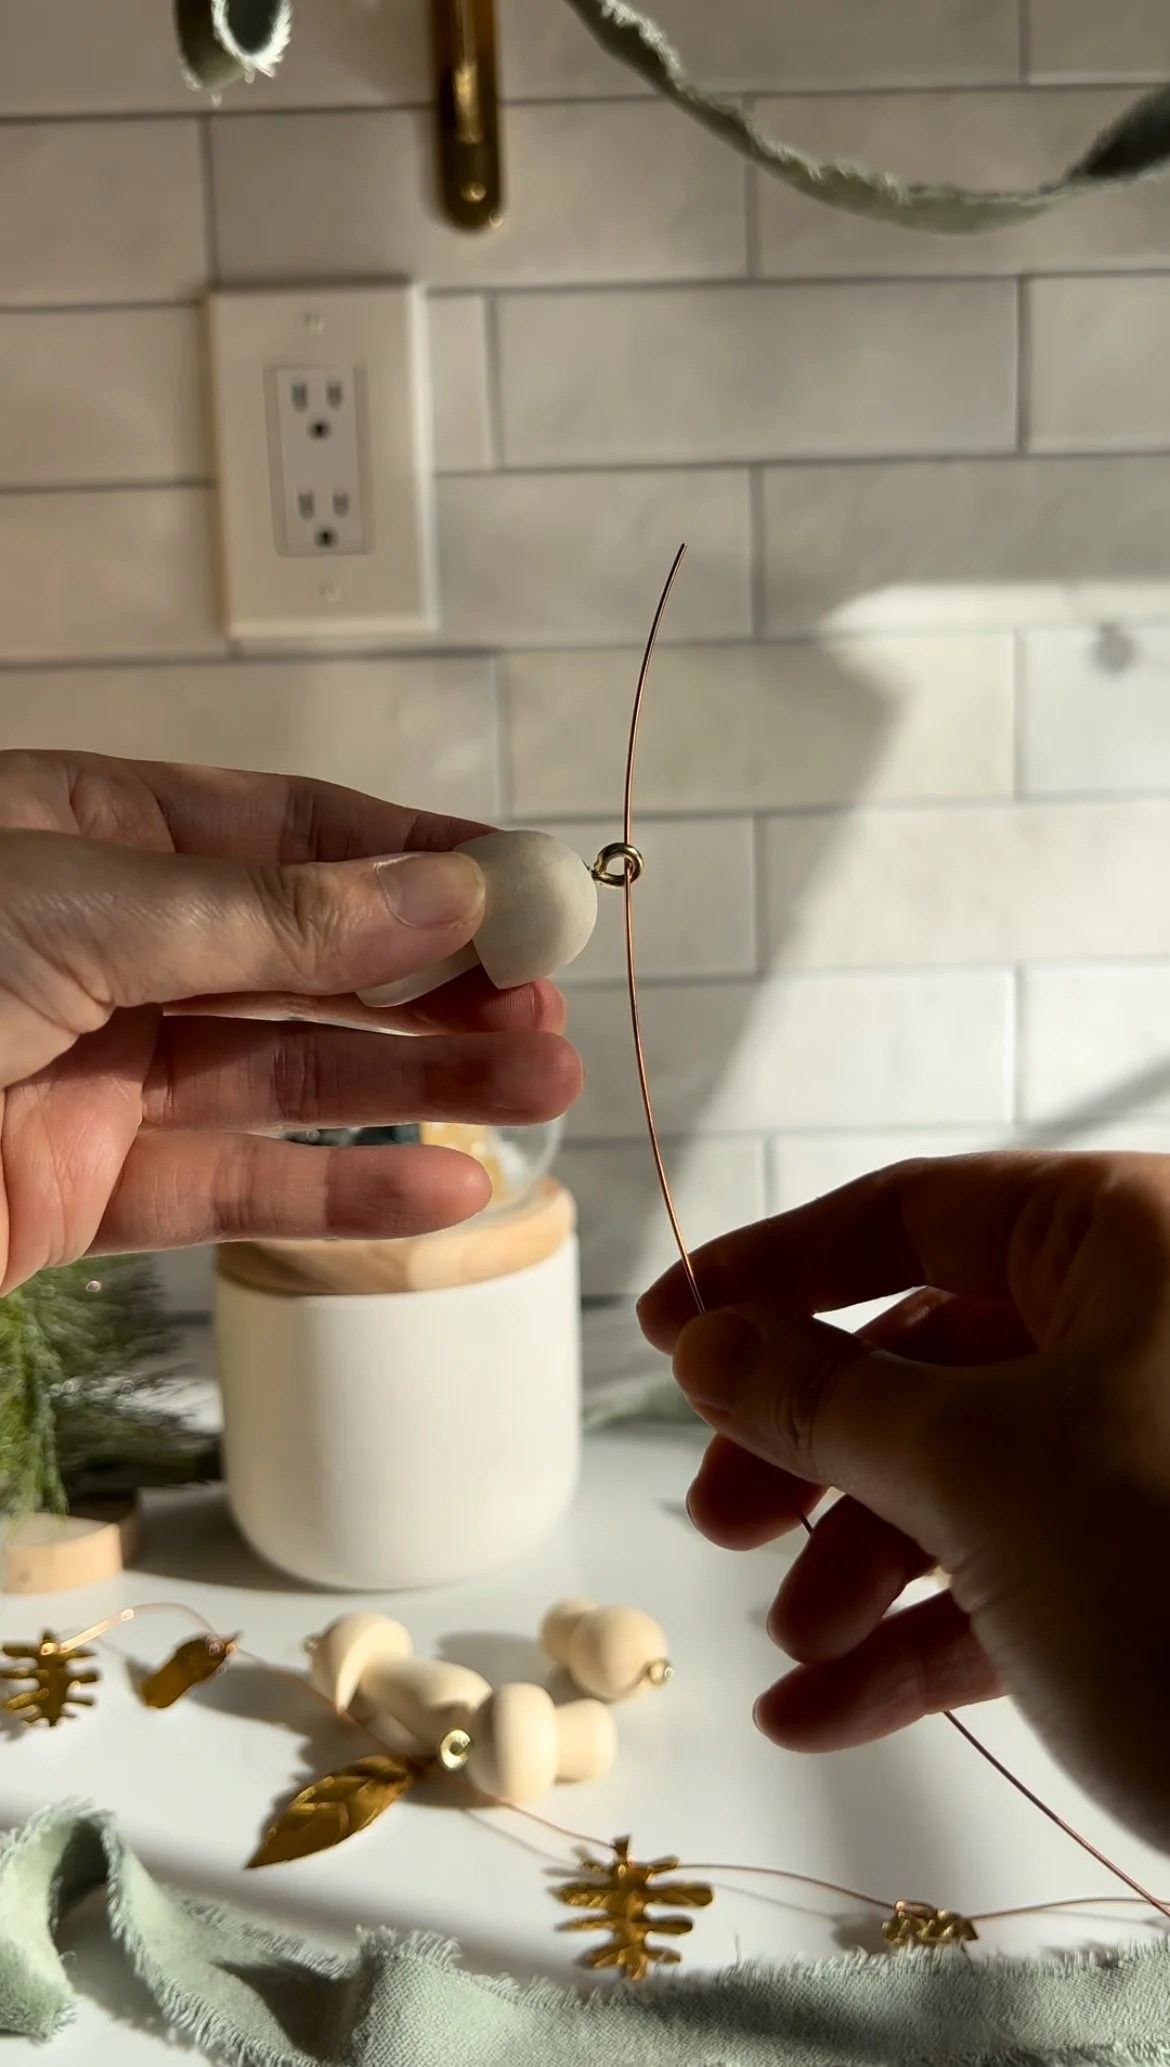
Cut wire based keeping in mind how much space you want between each mushroom or other items. String wire though each eye pin.
TIP
To keep each mushroom in place, wrap the wire and tighten around the screw eyelet. I find using the wire gave a cleaner look and also provided more control over the placement of the garland. I feel like using a piece of wire would be better for this DIY because the garland doesn’t dip where the mushrooms are heavy.


Step 4
Hang and enjoy!

Personalize your mushrooms with paint for more colour or stain the wood!
Check out how to make the gold foil leaf garland here!
Where did you hang your mushroom garland? ? I’d love to see your creations! Tag me @thekwendyhome on any social media platforms so I can see what you made!
Thanks for reading!
Love,