

Mushroom Ornament DIY
Ready for the cutest DIY for Christmas?
I decided to really lean in on the cottage core aesthetic this Christmas. And any woodland Christmas would involve a LOT of mushrooms. So I made a bunch out of paper mache. Let me teach you!

Photography by Janet Kwan
Materials
Newspaper
Elmer’s Glue
Water
Masking tape
Paint (White and different shades of red)
Floral Wire
Needle
Glue gun
Glue gun sticks


Step 1
Grab a sheet of newspaper and begin scrunching it to the shape of a mushroom top.
TIP: Scrunch in a circular manner so that the sides of your mushroom leaves an empty middle. You can nestle your mushroom stem in that middle space.

STEP 2
When you’ve reached the desired size of the mushroom top, use masking tape to secure it. Tape up the entire mushroom top until it’s you no longer see any newspaper.
Here I’m shaping my mushroom top while carefully leaving a space in the middle for the stem.

Your mushroom ornament should look like when it’s all taped up at the end of step 3!
Step 3
Roll up a strip of newspaper into a stem to your desired length and cover in masking tape.
This is how you create the stem.
Place your stem in the hallowed space of your mushroom top and secure together with tape or hot glue.
Step 4

Mix one part water to two parts white glue, stirring till mixed. It should be the consistency of watery pancake mixture.

Start ripping newspaper into small strips that are one inch in length and three inches long. Dip the strips into the glue mixture and remove excess.
Start placing the strips on the tape covered mushroom until no tape is visible through your paper mache. Smooth out any wrinkles and lay your newspaper as close to your mushroom form as possible.

TIP: Place the strips from the centre of your mushroom top and down to the side. This will create a smoother and stronger form. Overlapping the strips is also key.
Set it out to dry.
Here is a visual of what I meant when I placed the newspaper strips from the centre and smoothing it down the side of the mushroom top.
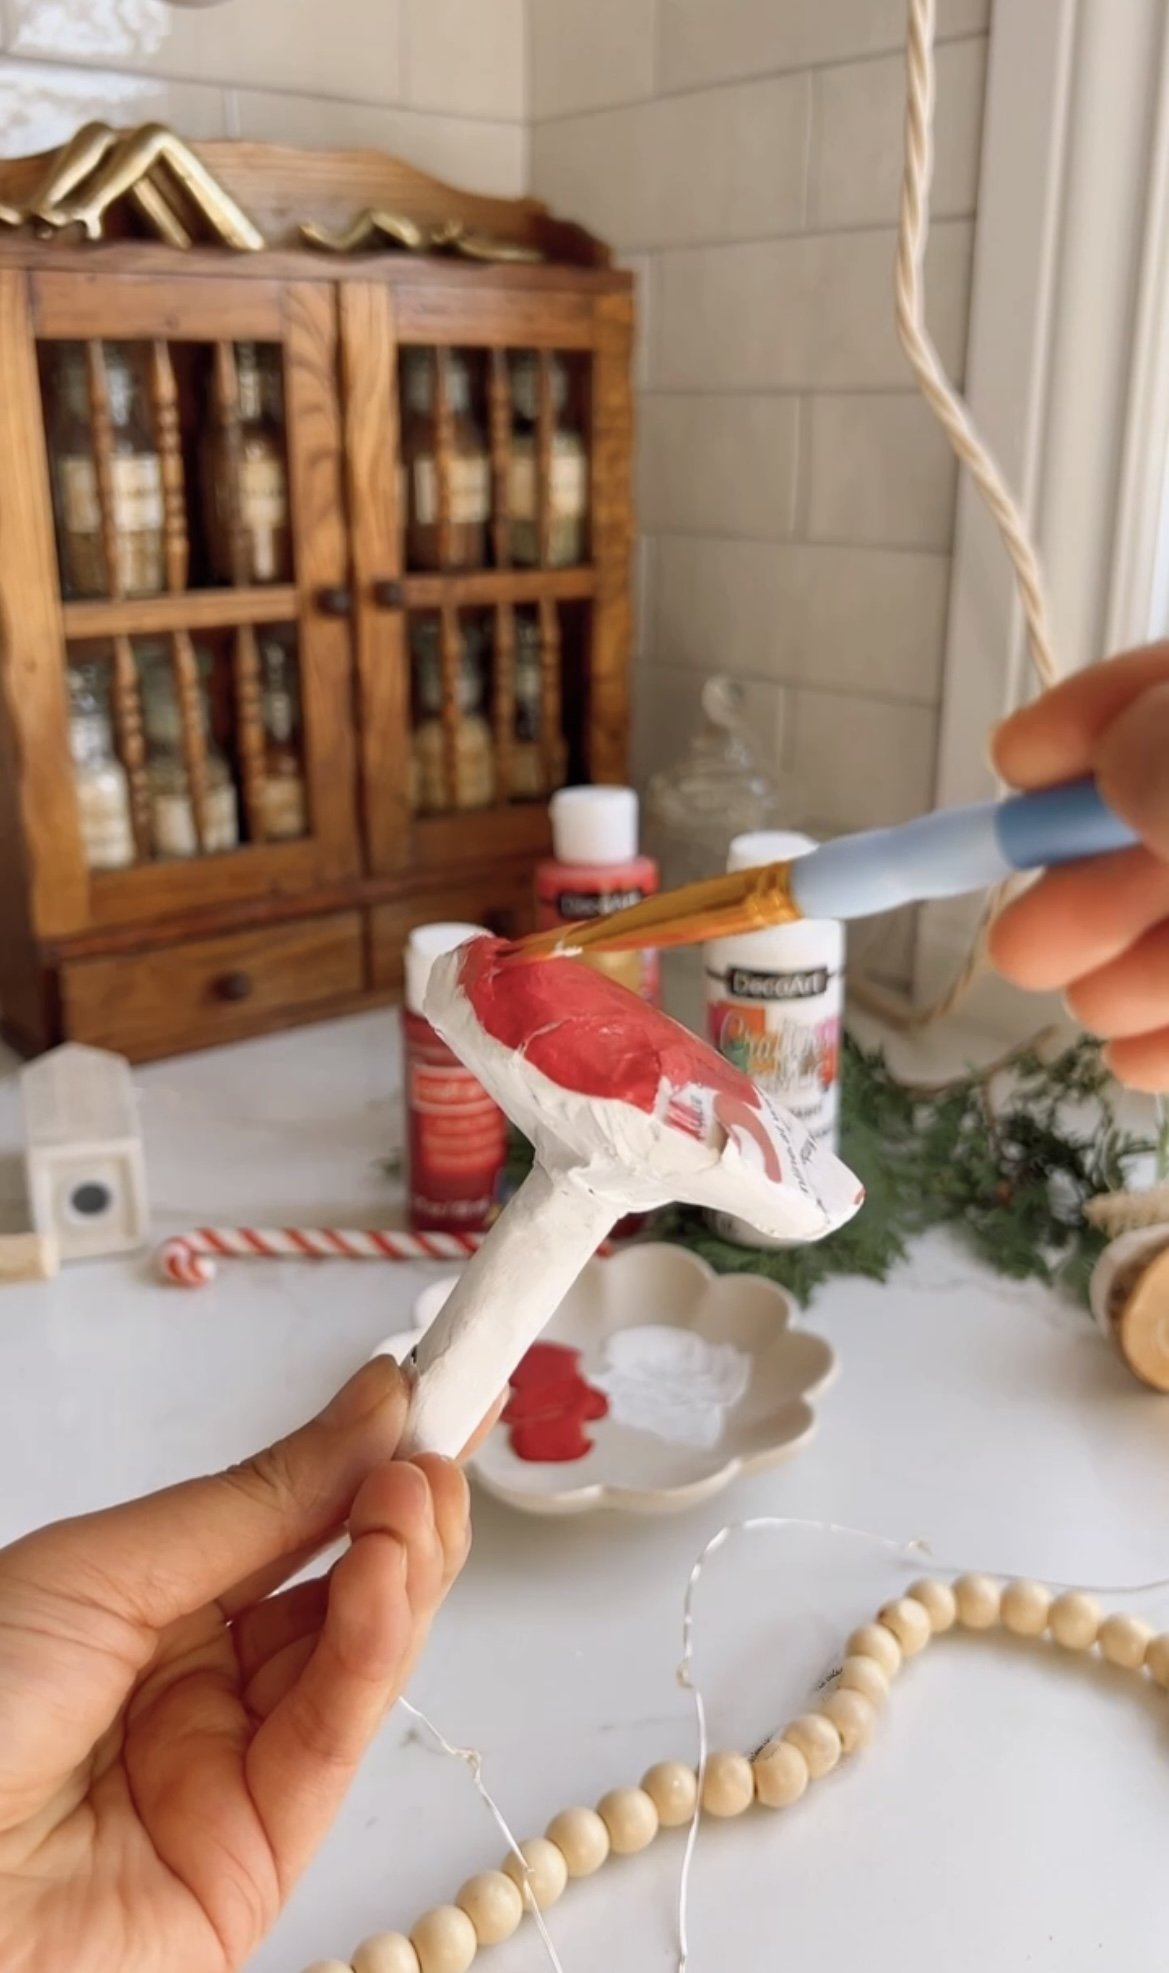
Step 5
This is the fun part! I painted the entire stem and bottom half of the mushroom top white. After the white paint dried, I went and painted the mushroom top in red. Let it dry and paint a second coat of red for full coverage.
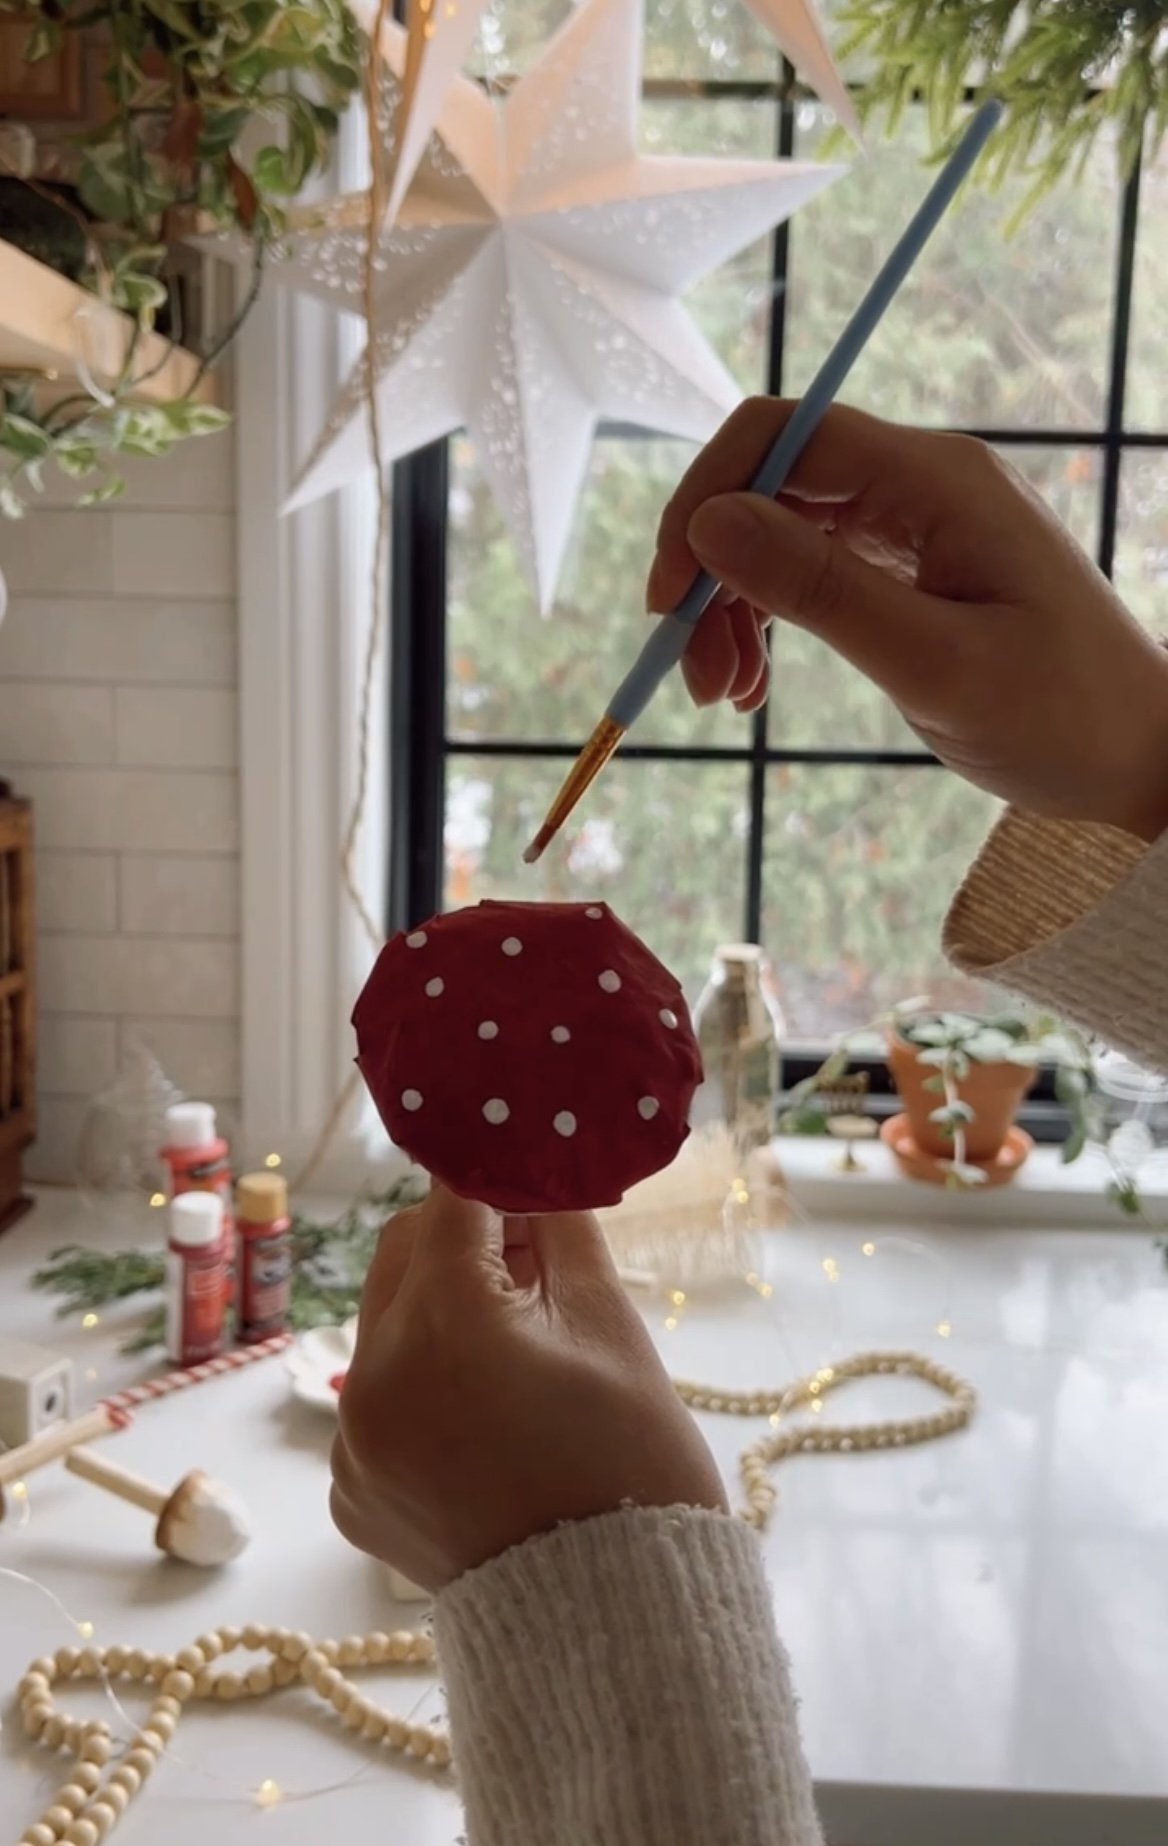
Once dry, dot your mushrooms in little white dots! It looks so cute at this stage.
TIP: I bought three shades of red and mixed them for subtle variation in my mushrooms. The overall effect is very whimsical.

Step 6
Cut floral wire to 5 inch long pieces and create a loop. Twist the two ends of the wire together for a long tail. This will be loop you hang your ornament to your tree.
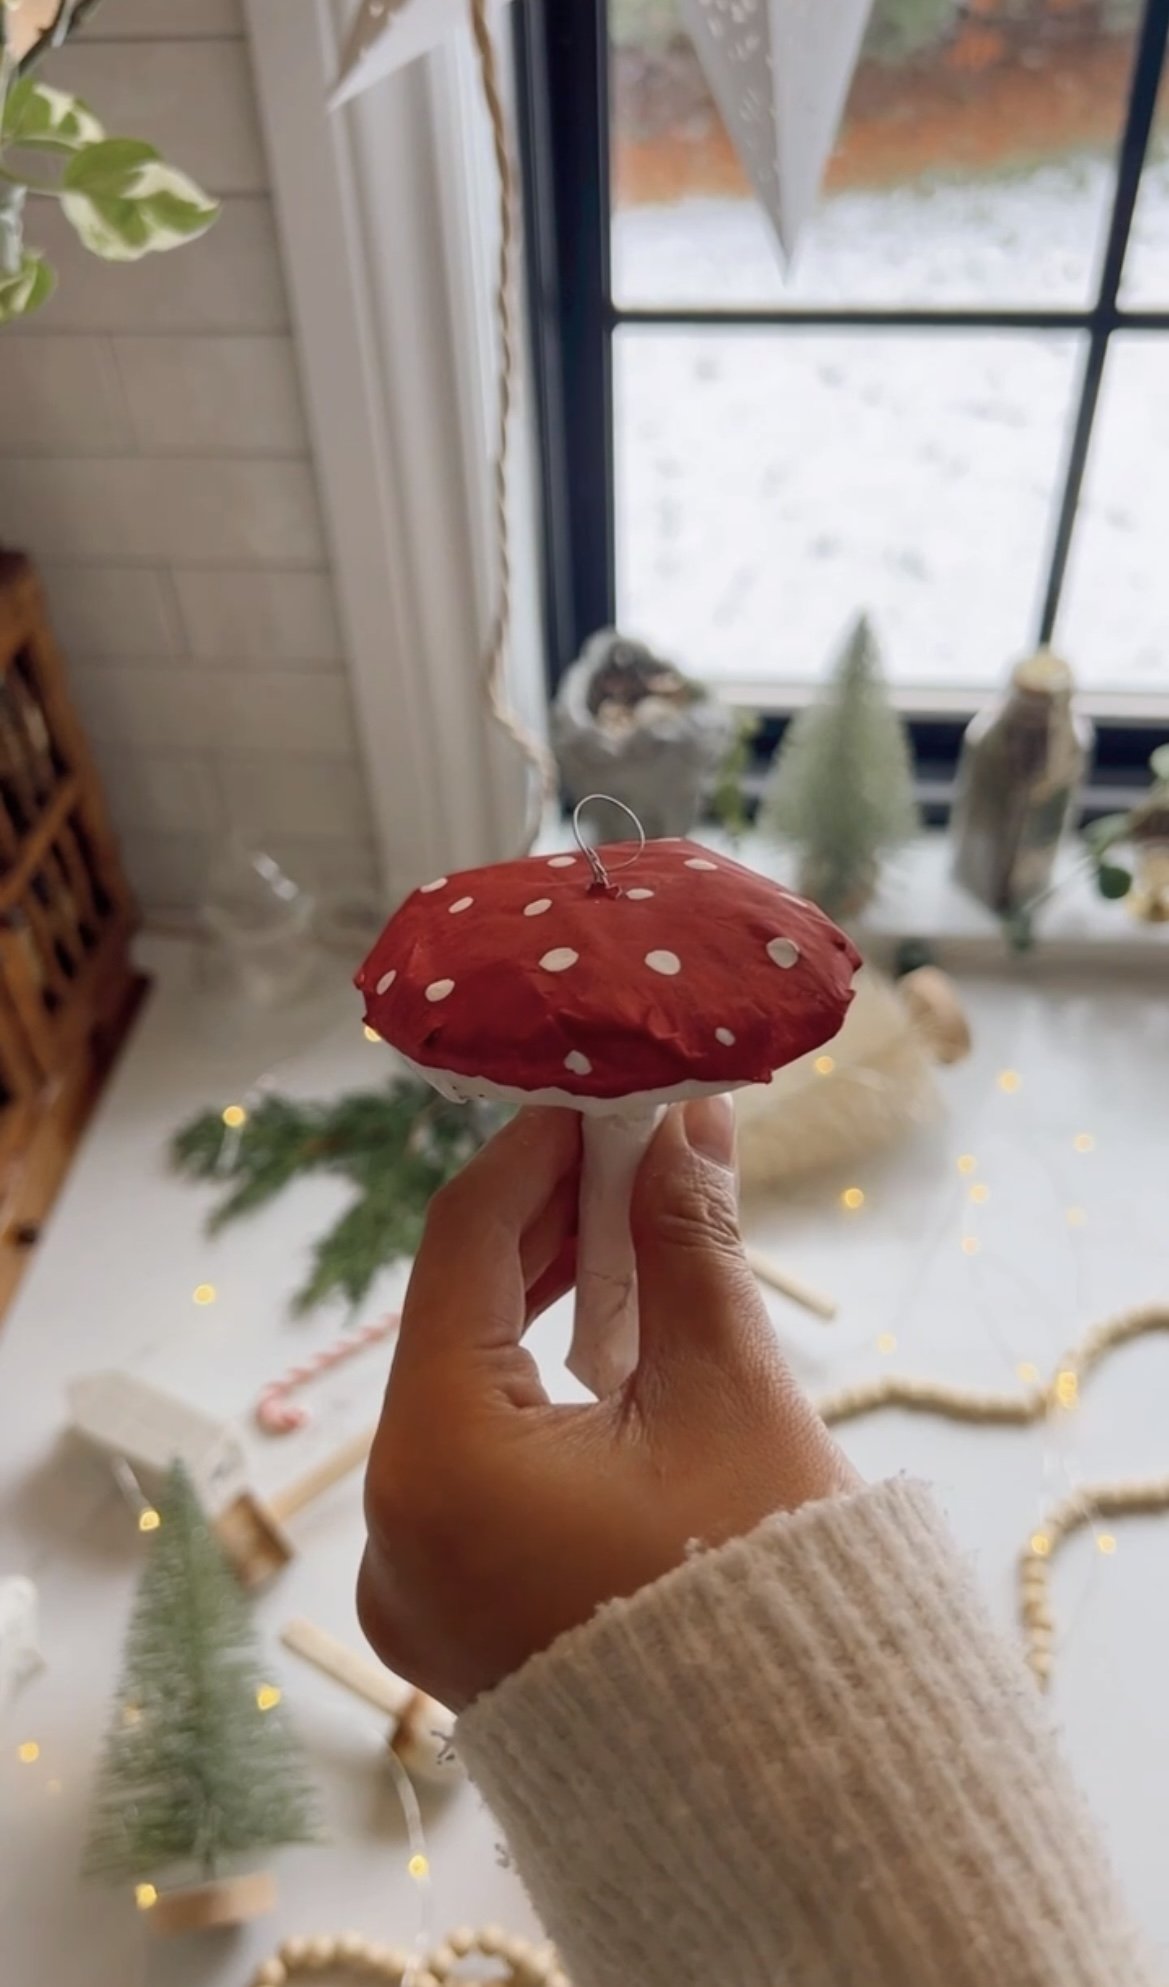
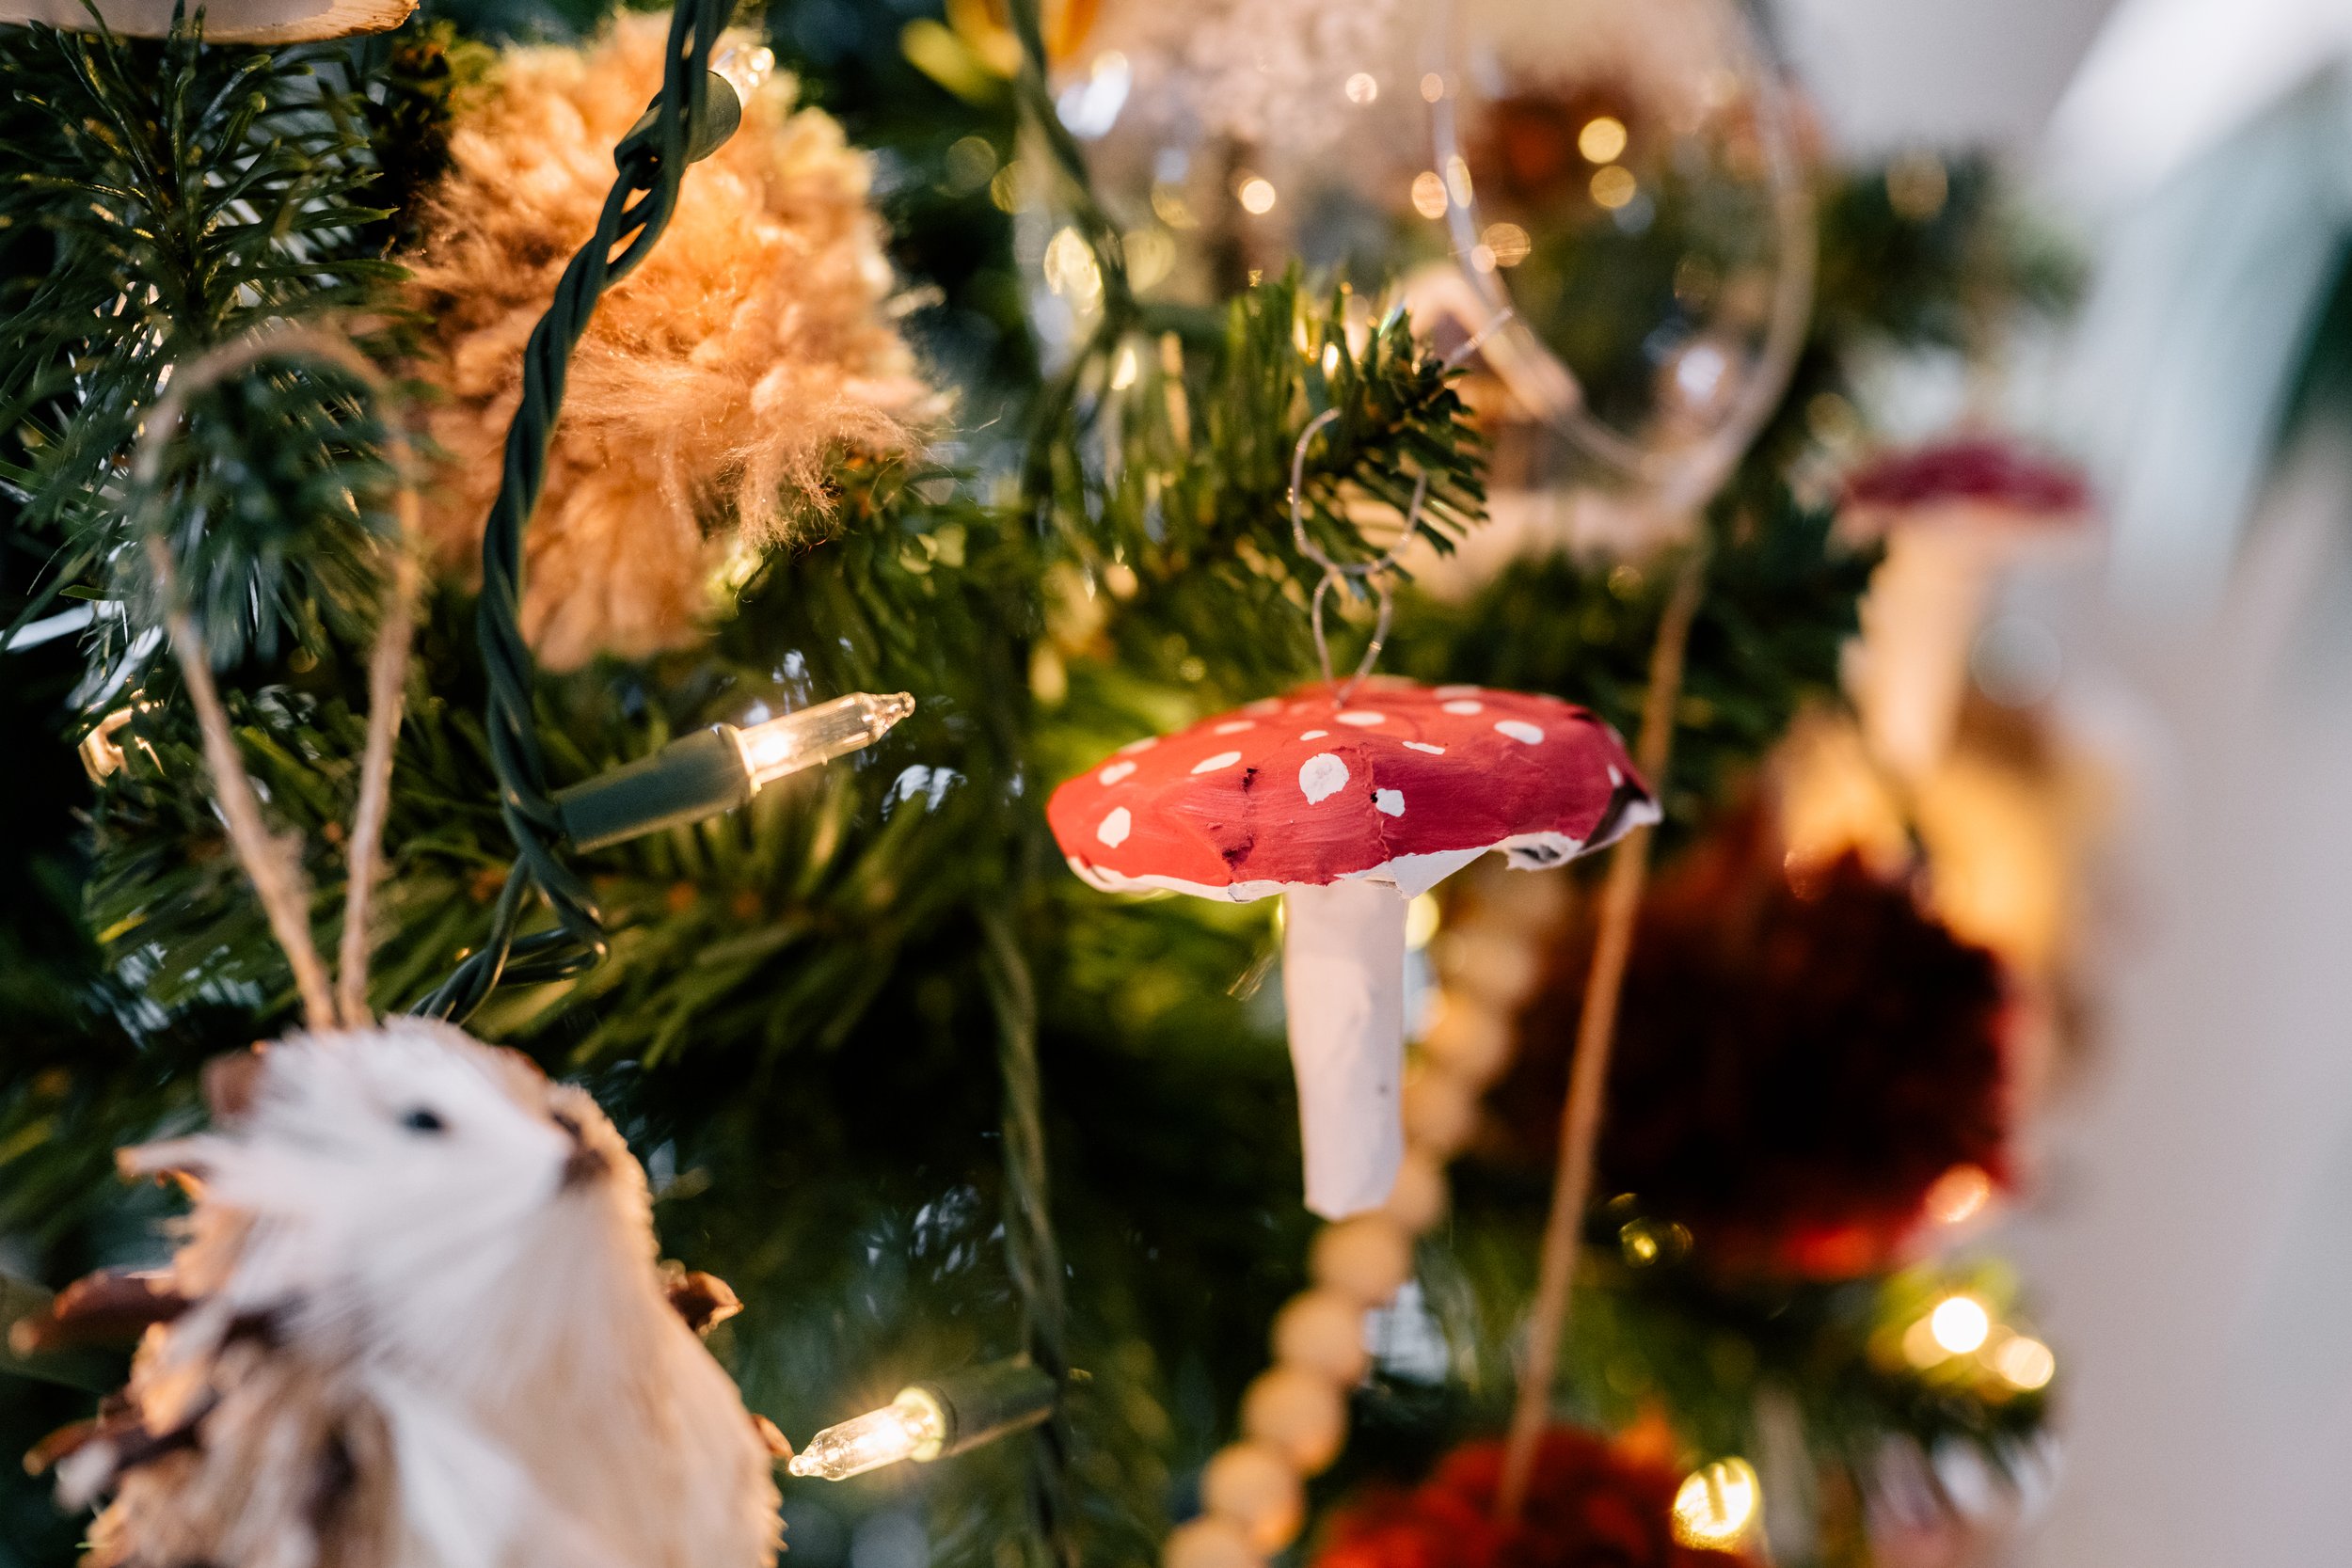
I used an embroidery needle to pierce a hole in the middle of my mushroom and fed the floral wire loop in. I then secured it with a dab of hot glue.

Photography by Janet Kwan
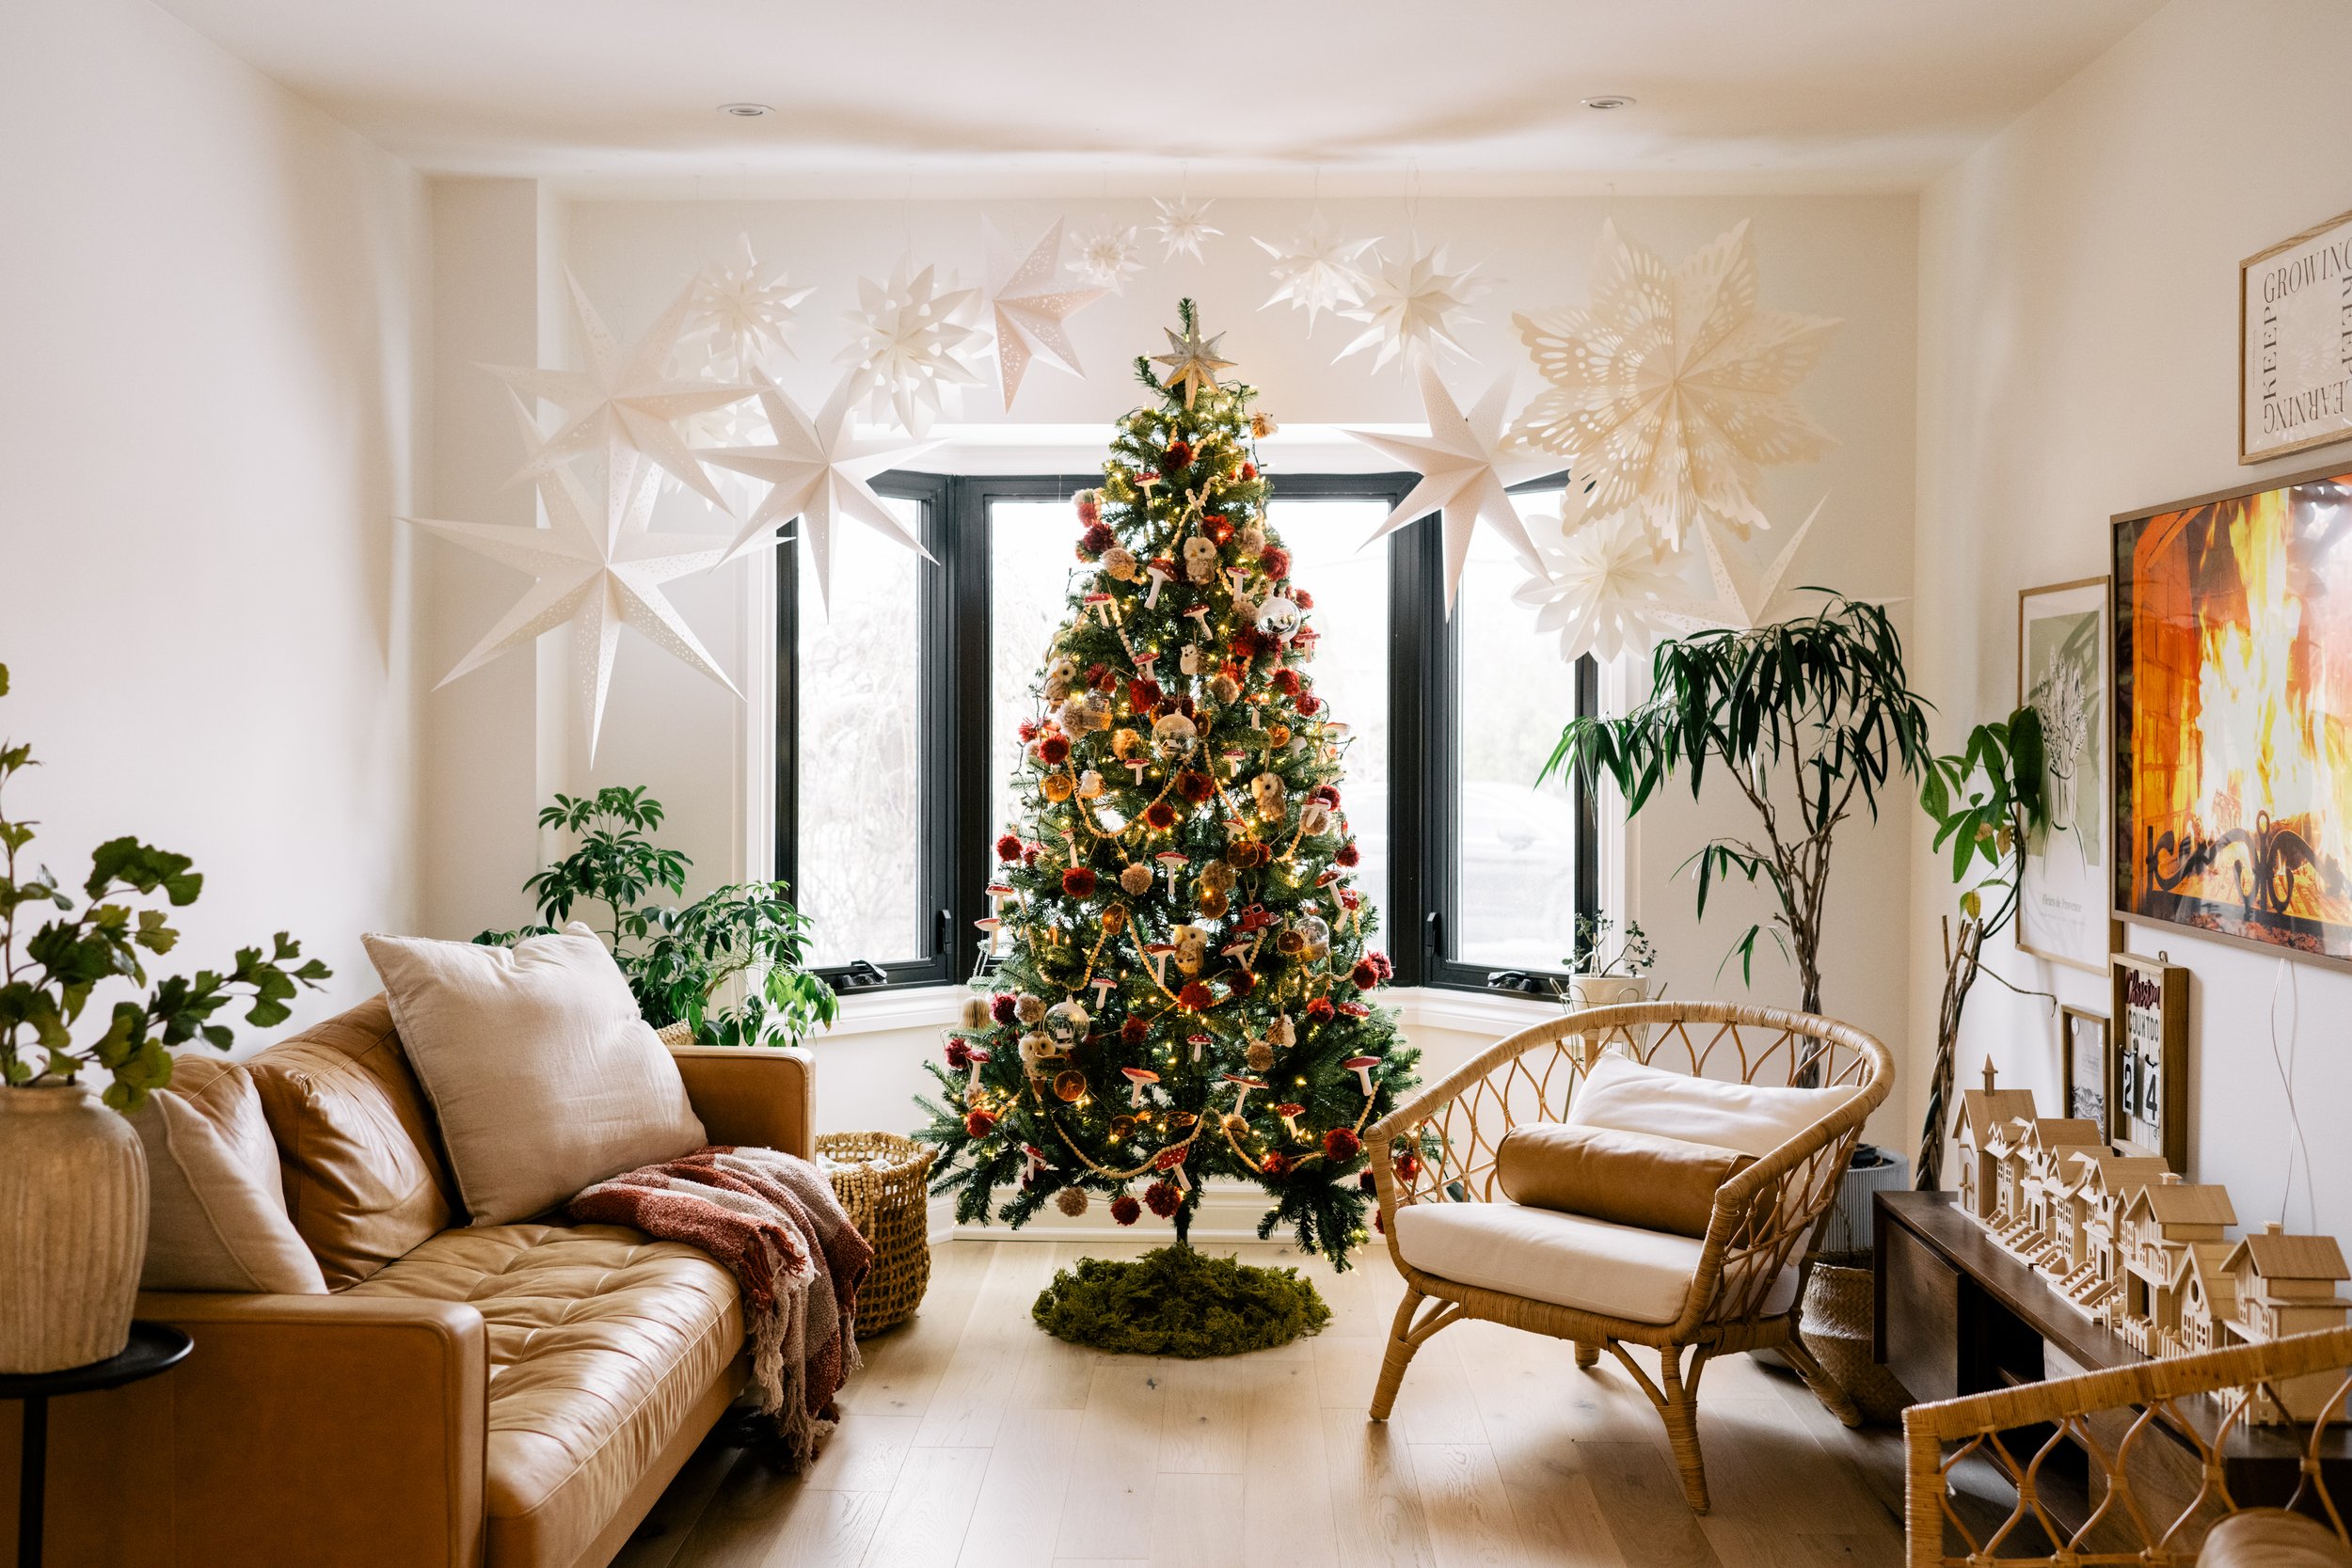
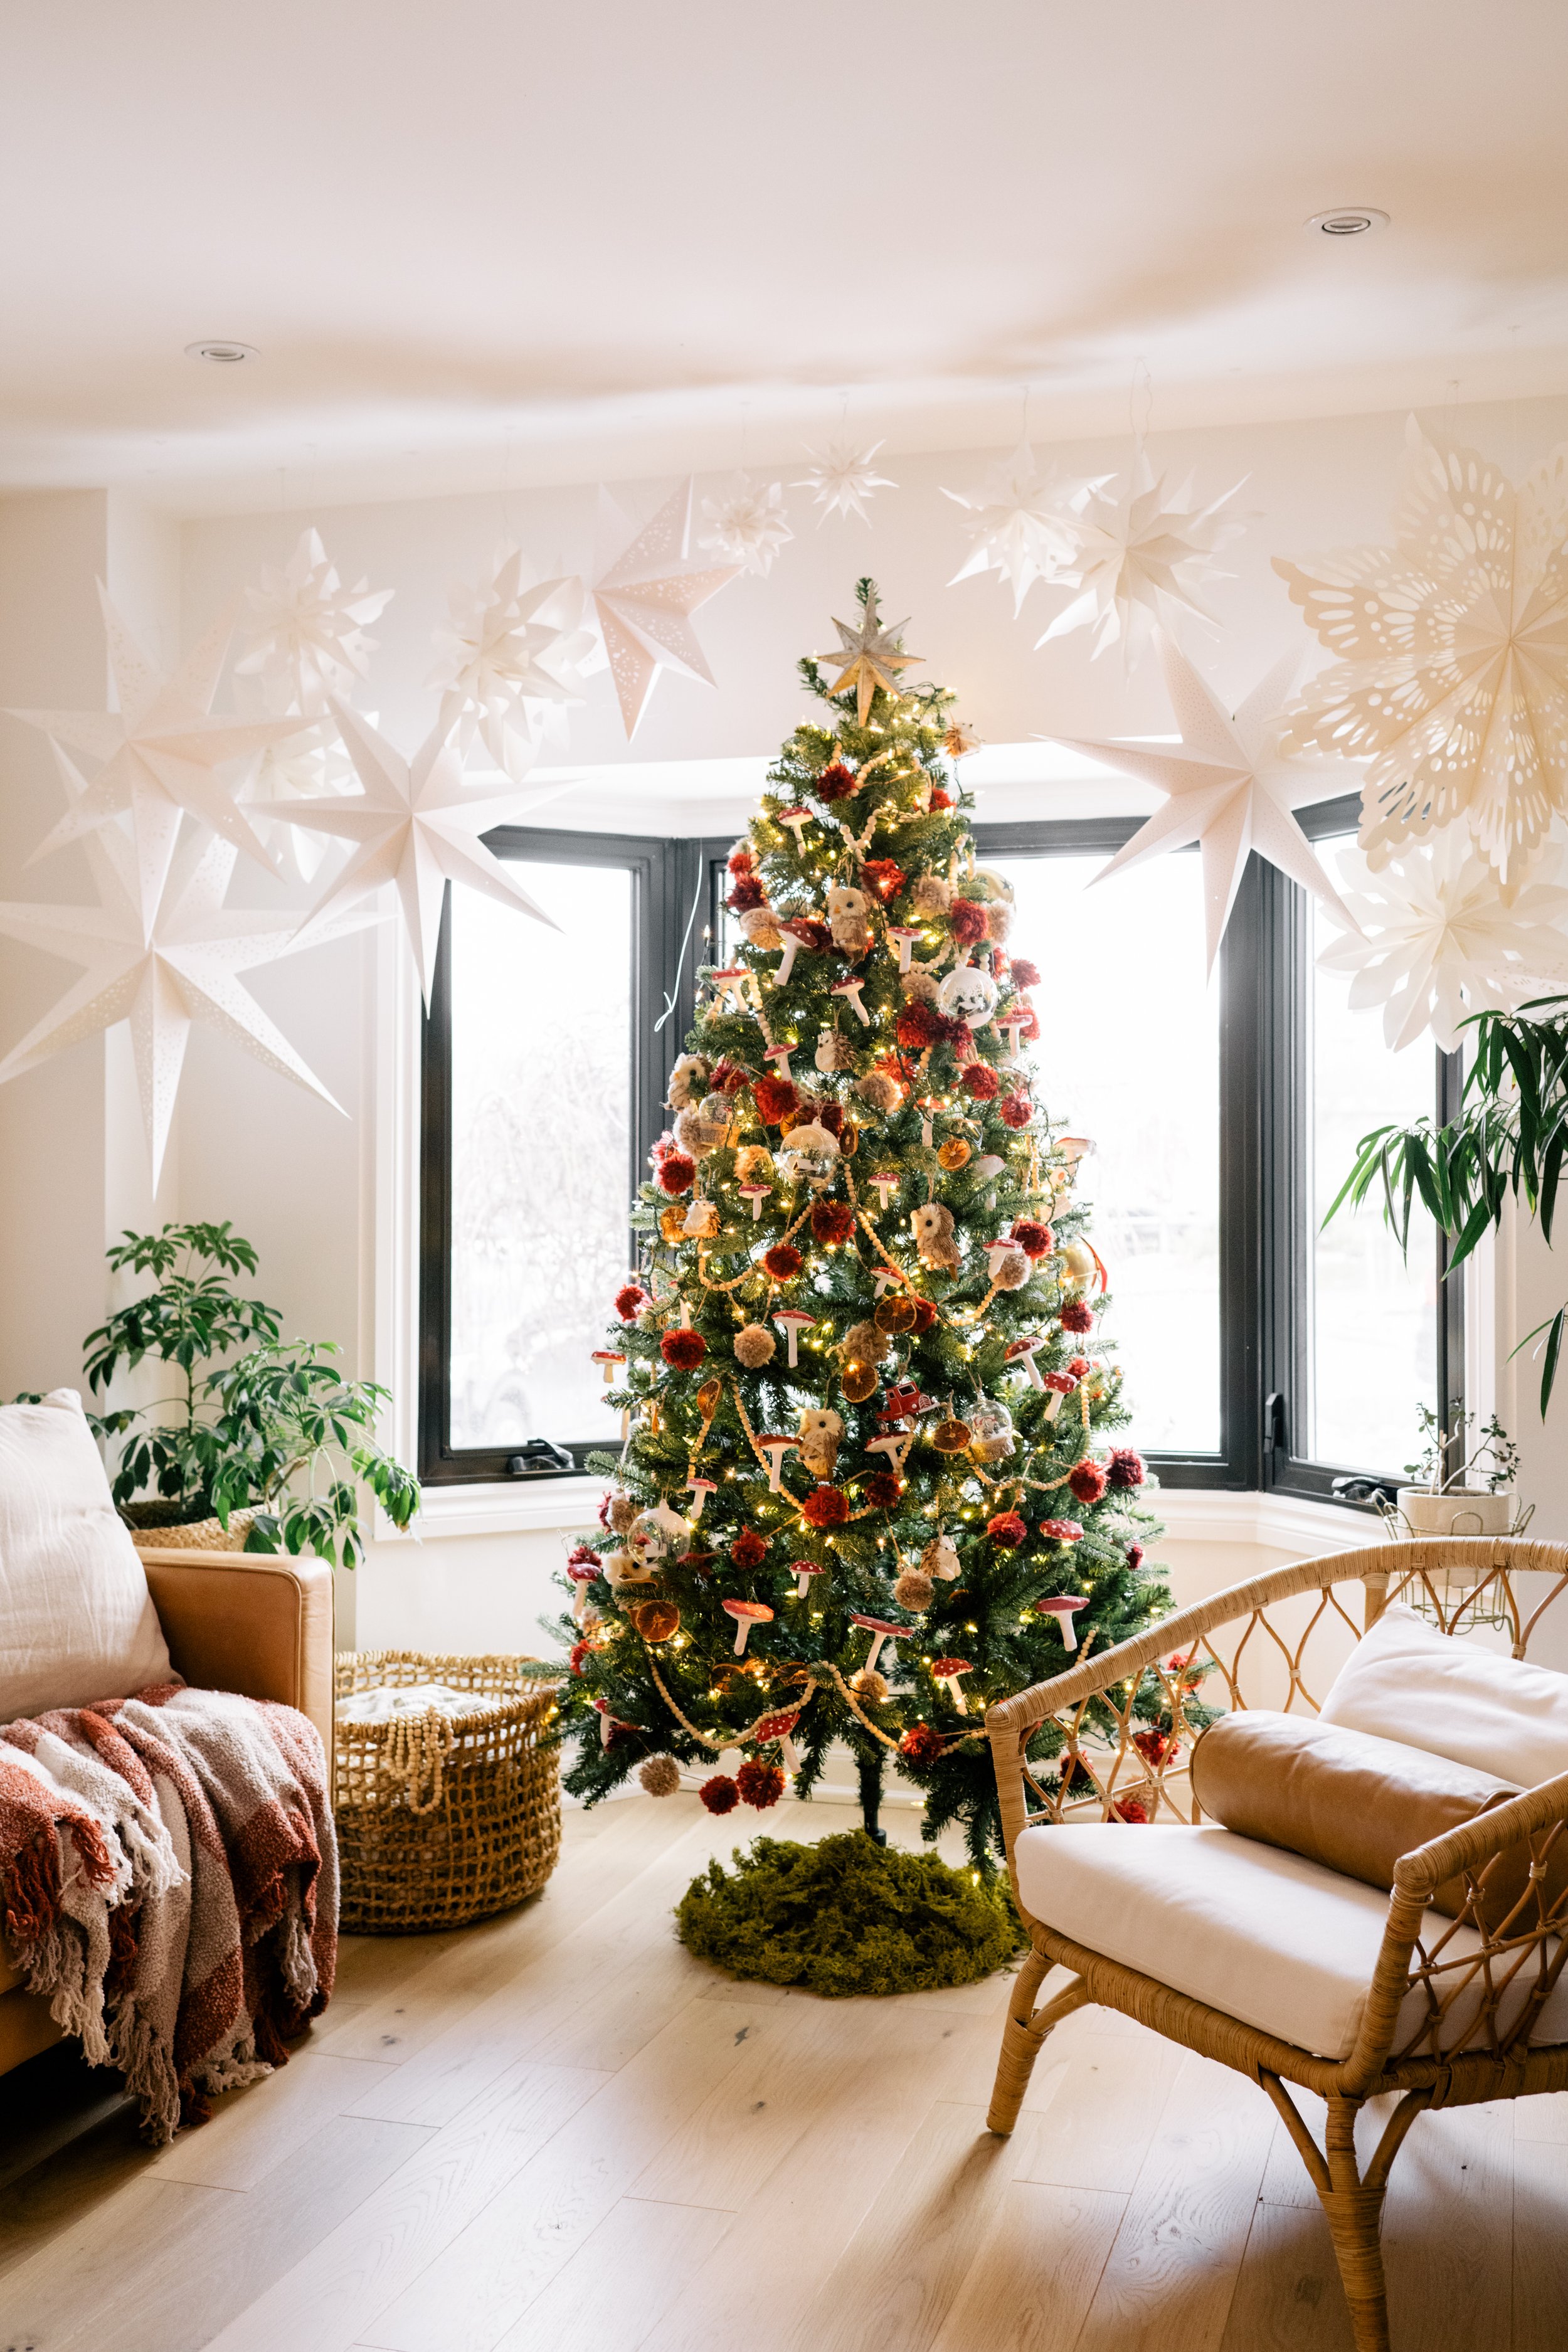
And voila! Now you have the cutest homemade mushrooms for your cottage core Christmas tree! I love the pops of cheery red in this year’s decor. I even used a bed of moss as our tree skirt this year. I’m squealing at the cuteness!

I hope you liked this DIY! I’d love to see your creations. Tag me on all social media platforms @thekwendyhome!
Thanks for reading!
Love,